Users
The Users view in the Auth.it Dashboard allows you to create, view, and manage user accounts.
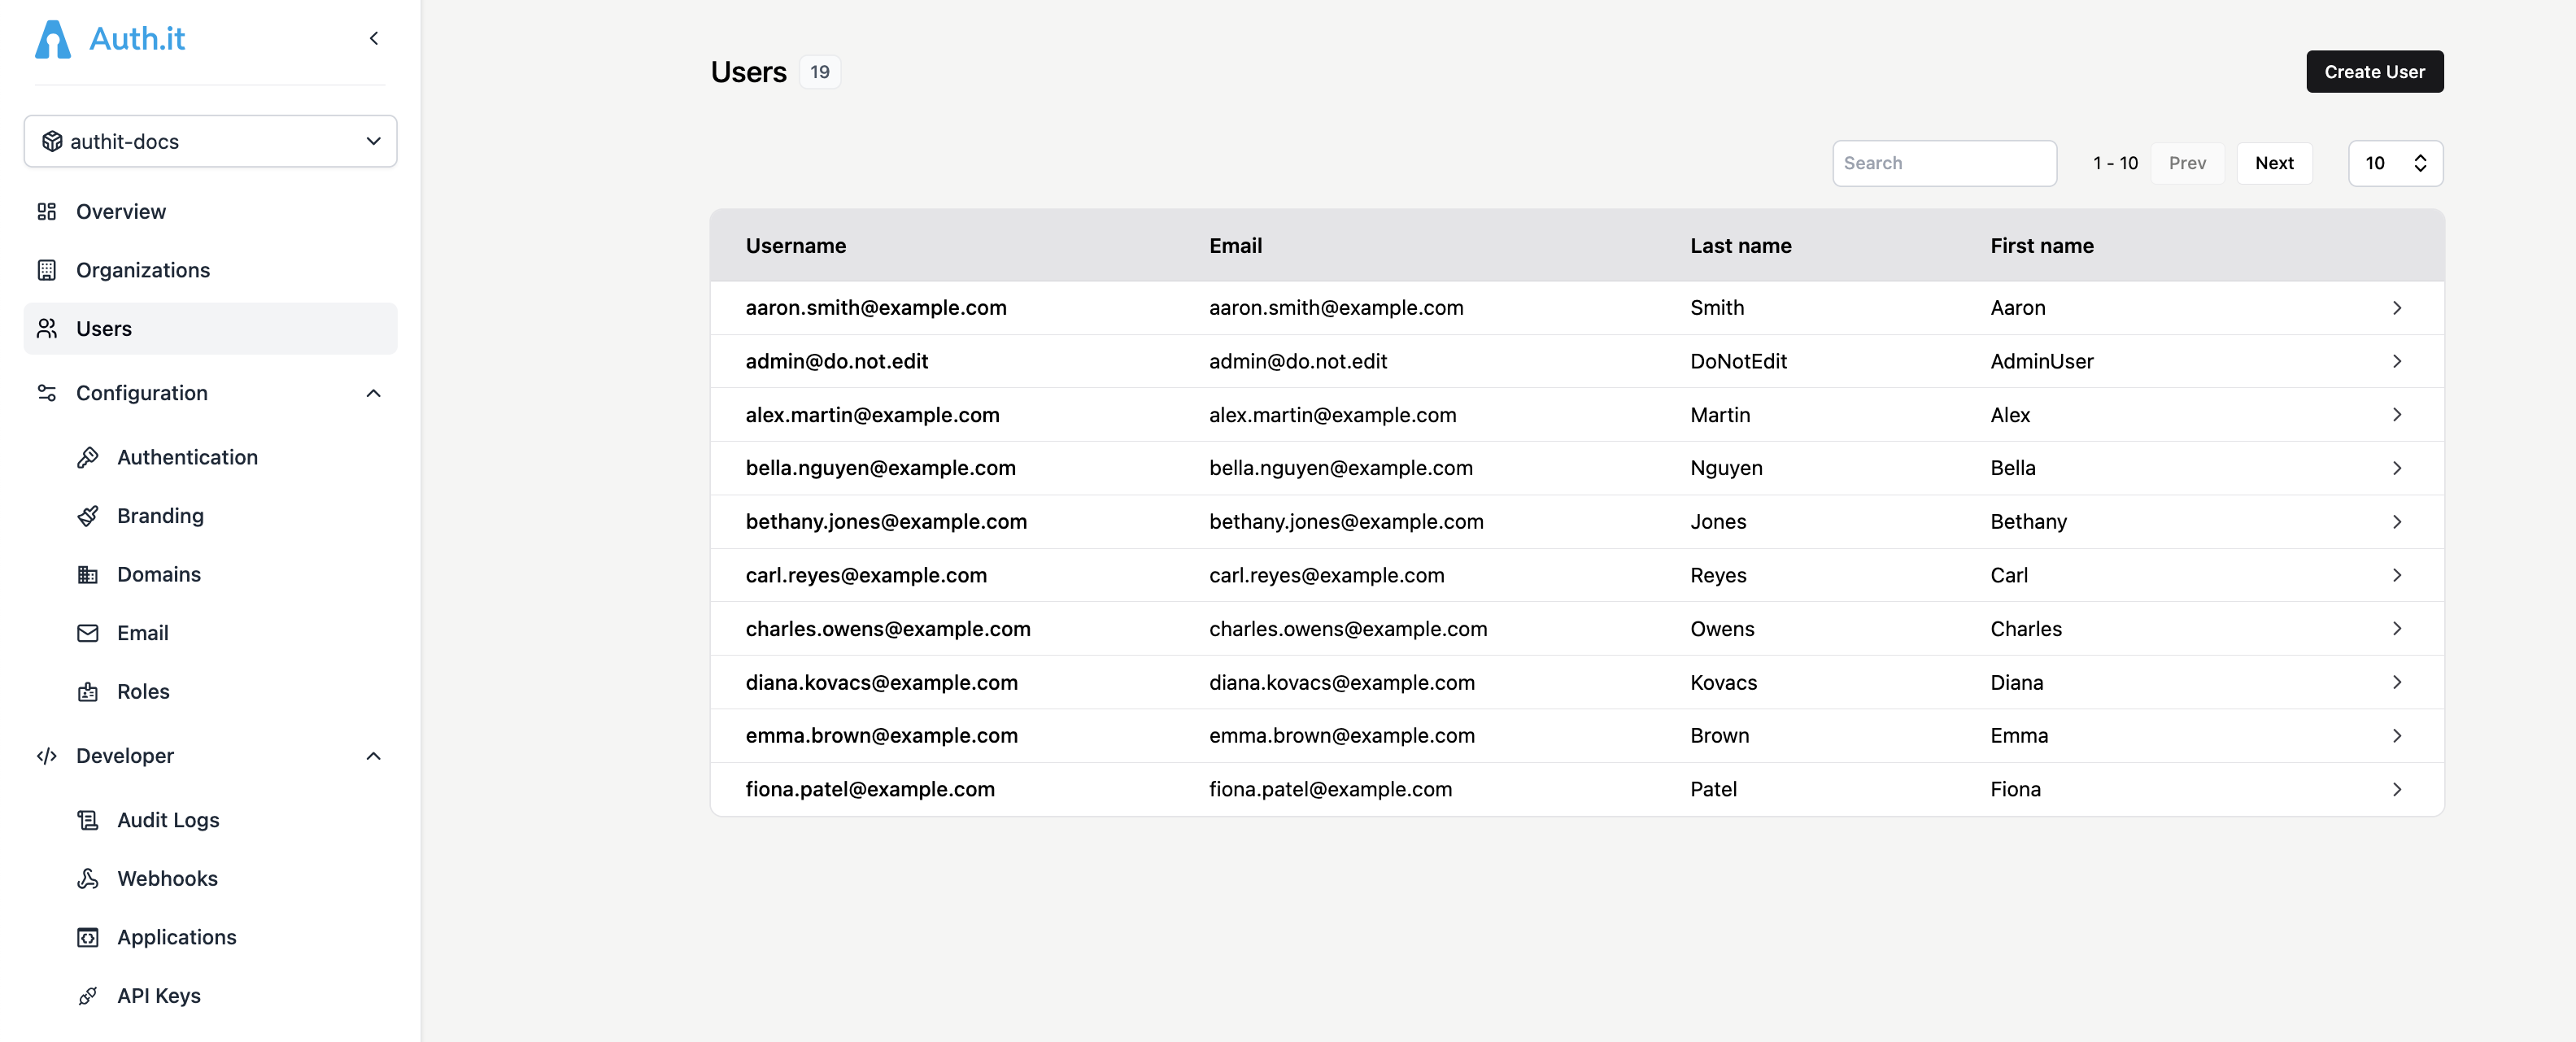
The search field above the user table lets you filter users with a partial match across all columns.
Creating a User
By default, Auth.it allows self-registration. You can disable this feature in the Register section of the Authentication view.
If self-registration is disabled, you need to create users manually by clicking Create User in the Users view. Auth.it provides a form where you can fill out basic user profile information: the email, and the user’s first and last name.
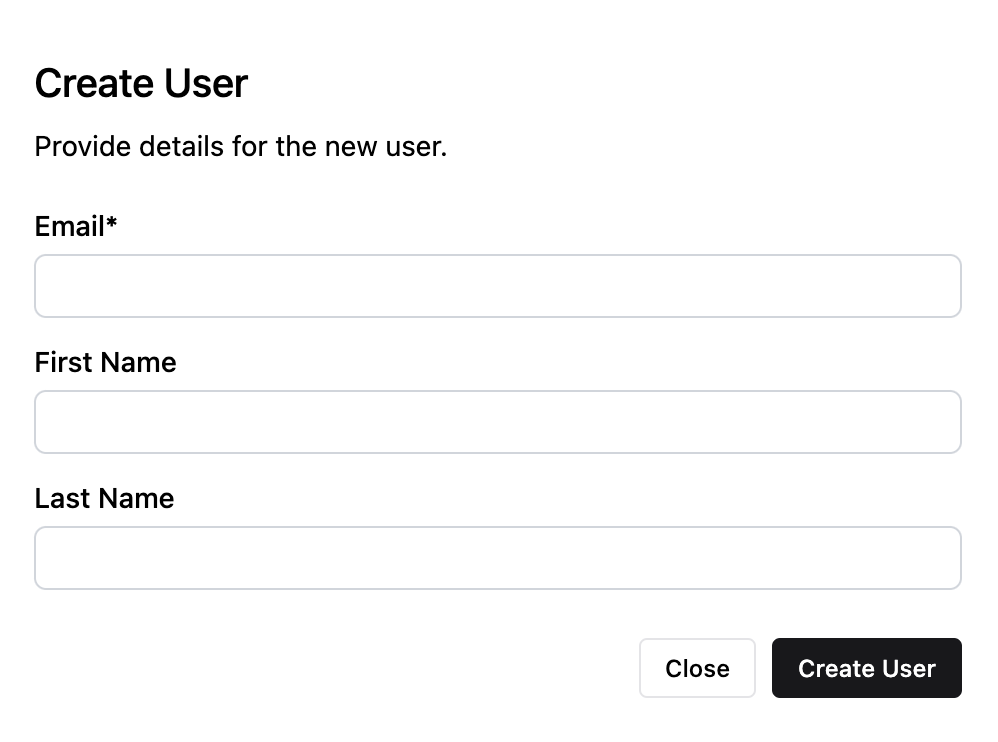
The email entered here has special handling — it’s used to identify, authenticate, and link user accounts. It also serves as the username and can’t be altered once the user has been created.
Once you’ve created or opened a user account, you’ll see their profile with several tabs:
Note that the user doesn’t automatically receive an email notification upon creation. You can use the Send reset option in the Credentials tab of the user profile to send a notification.
Details
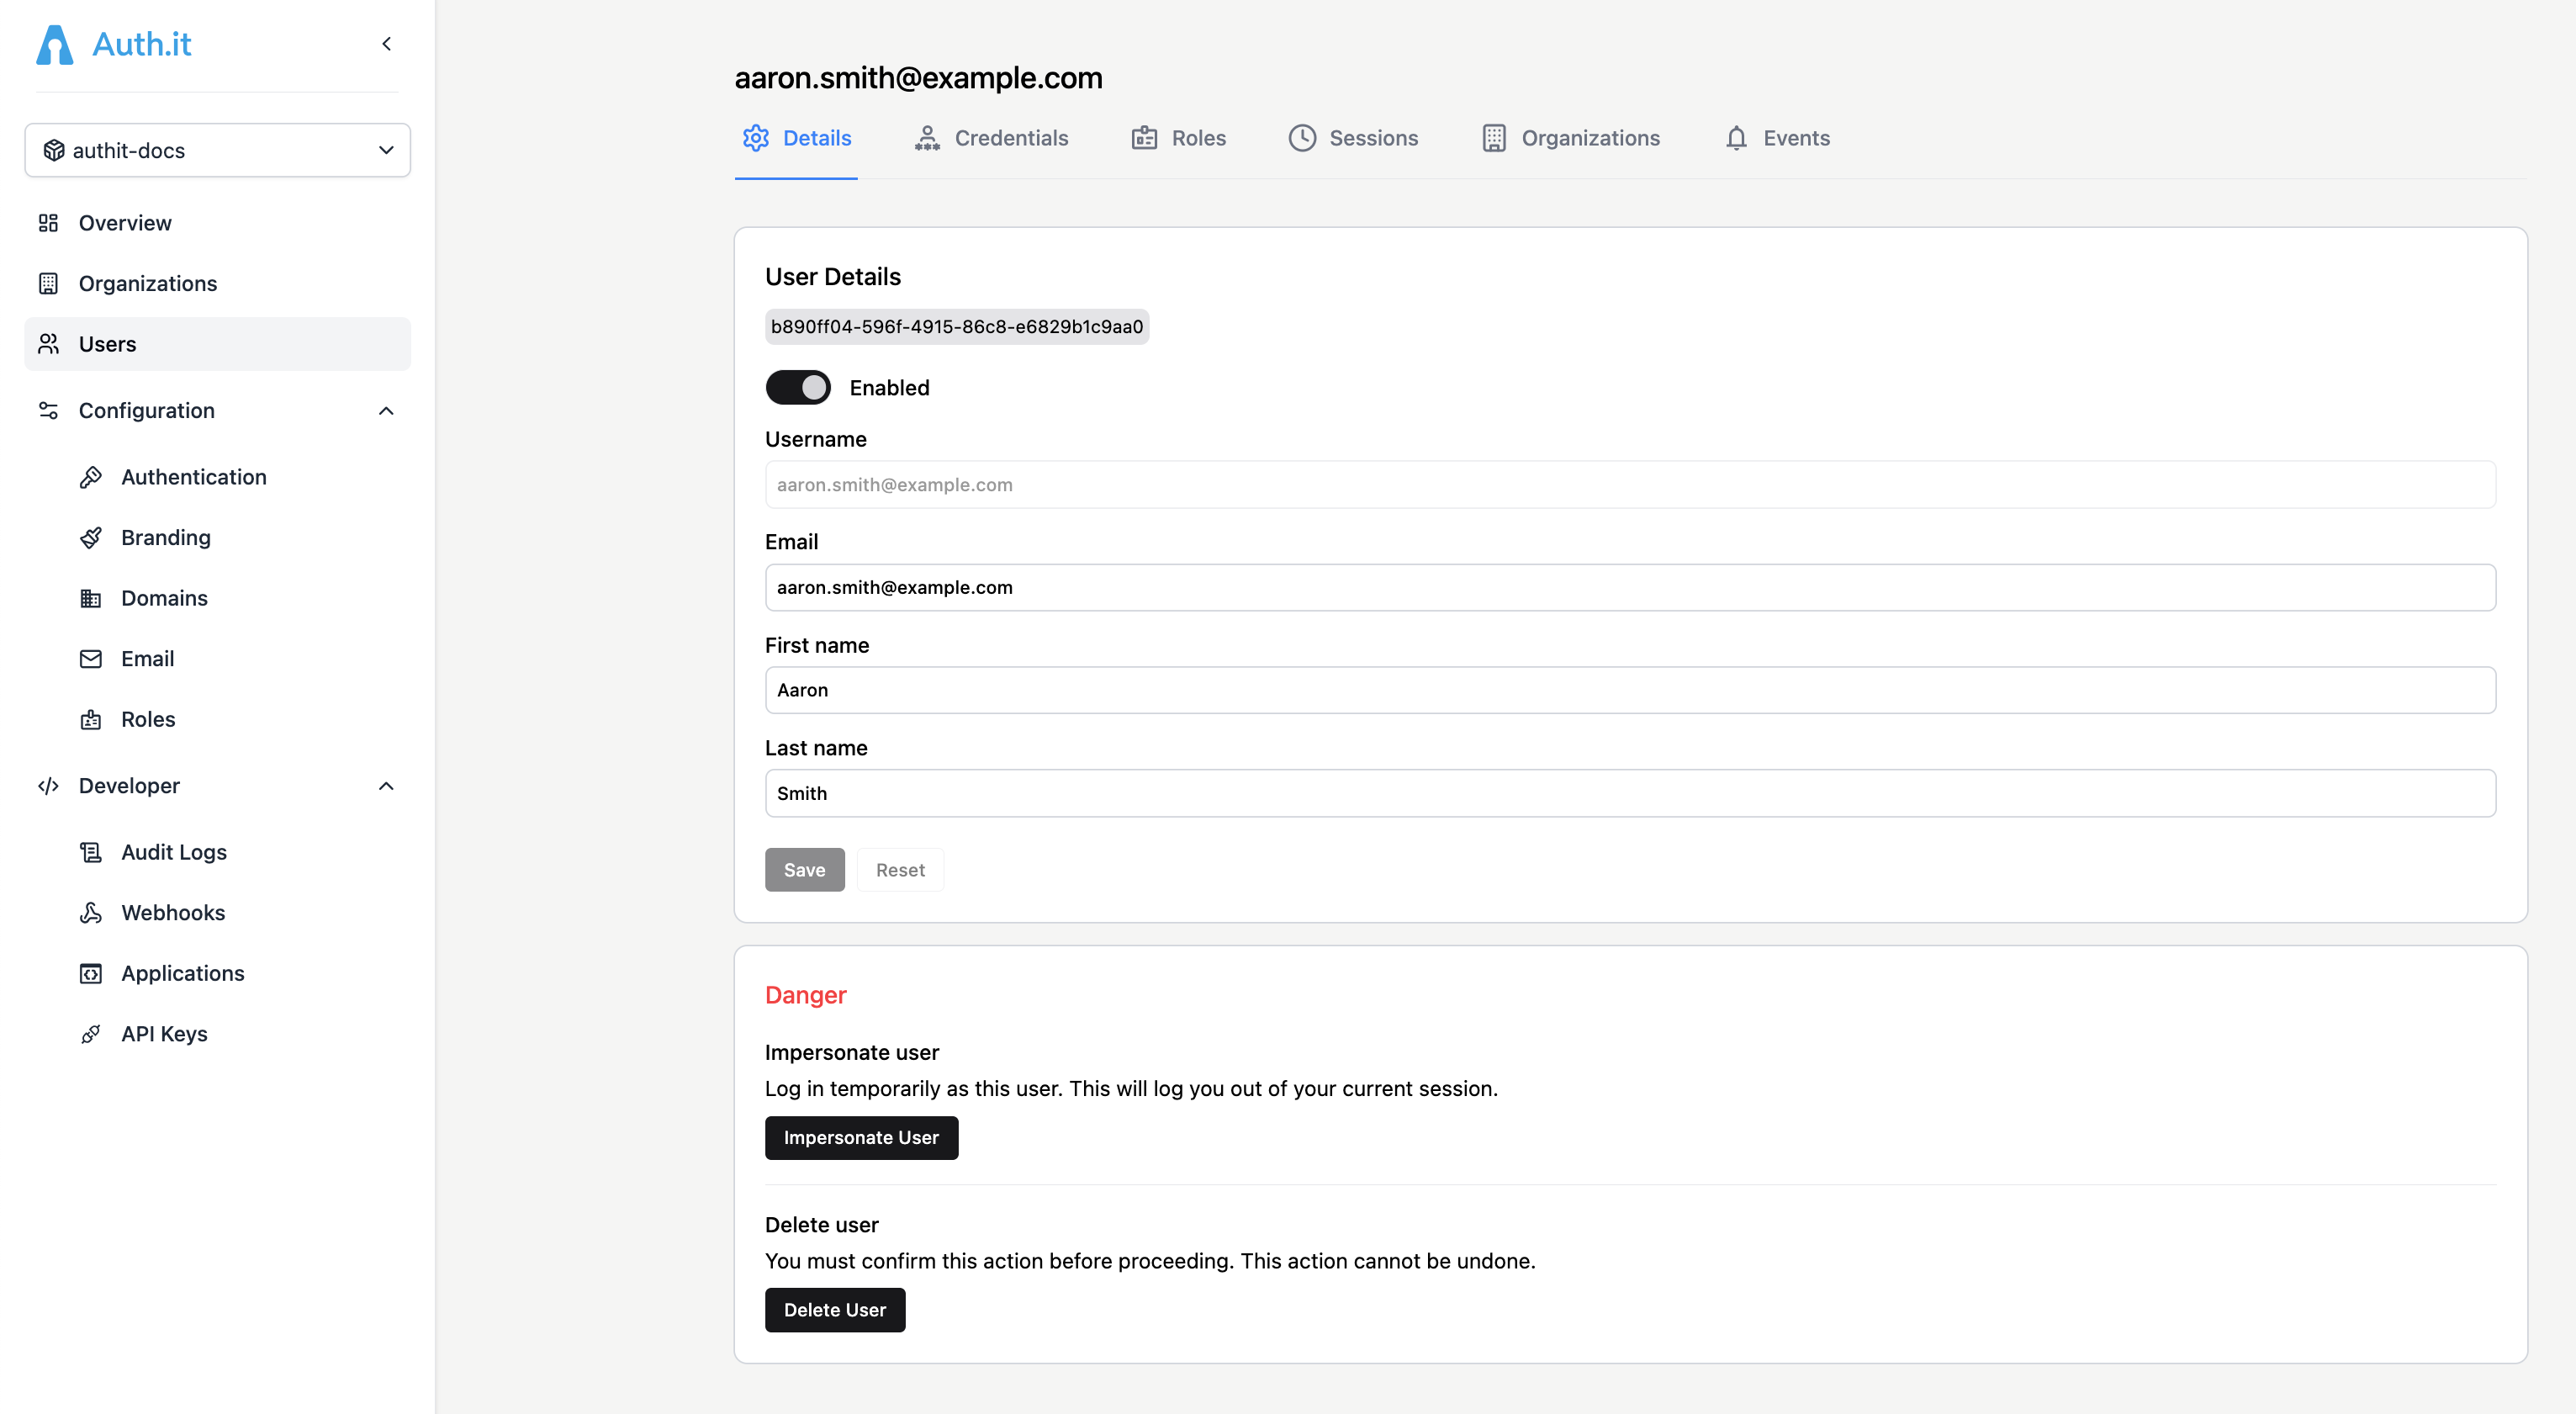
The Details tab, which opens once the user has been created, allows you to view and edit certain user profile attributes.
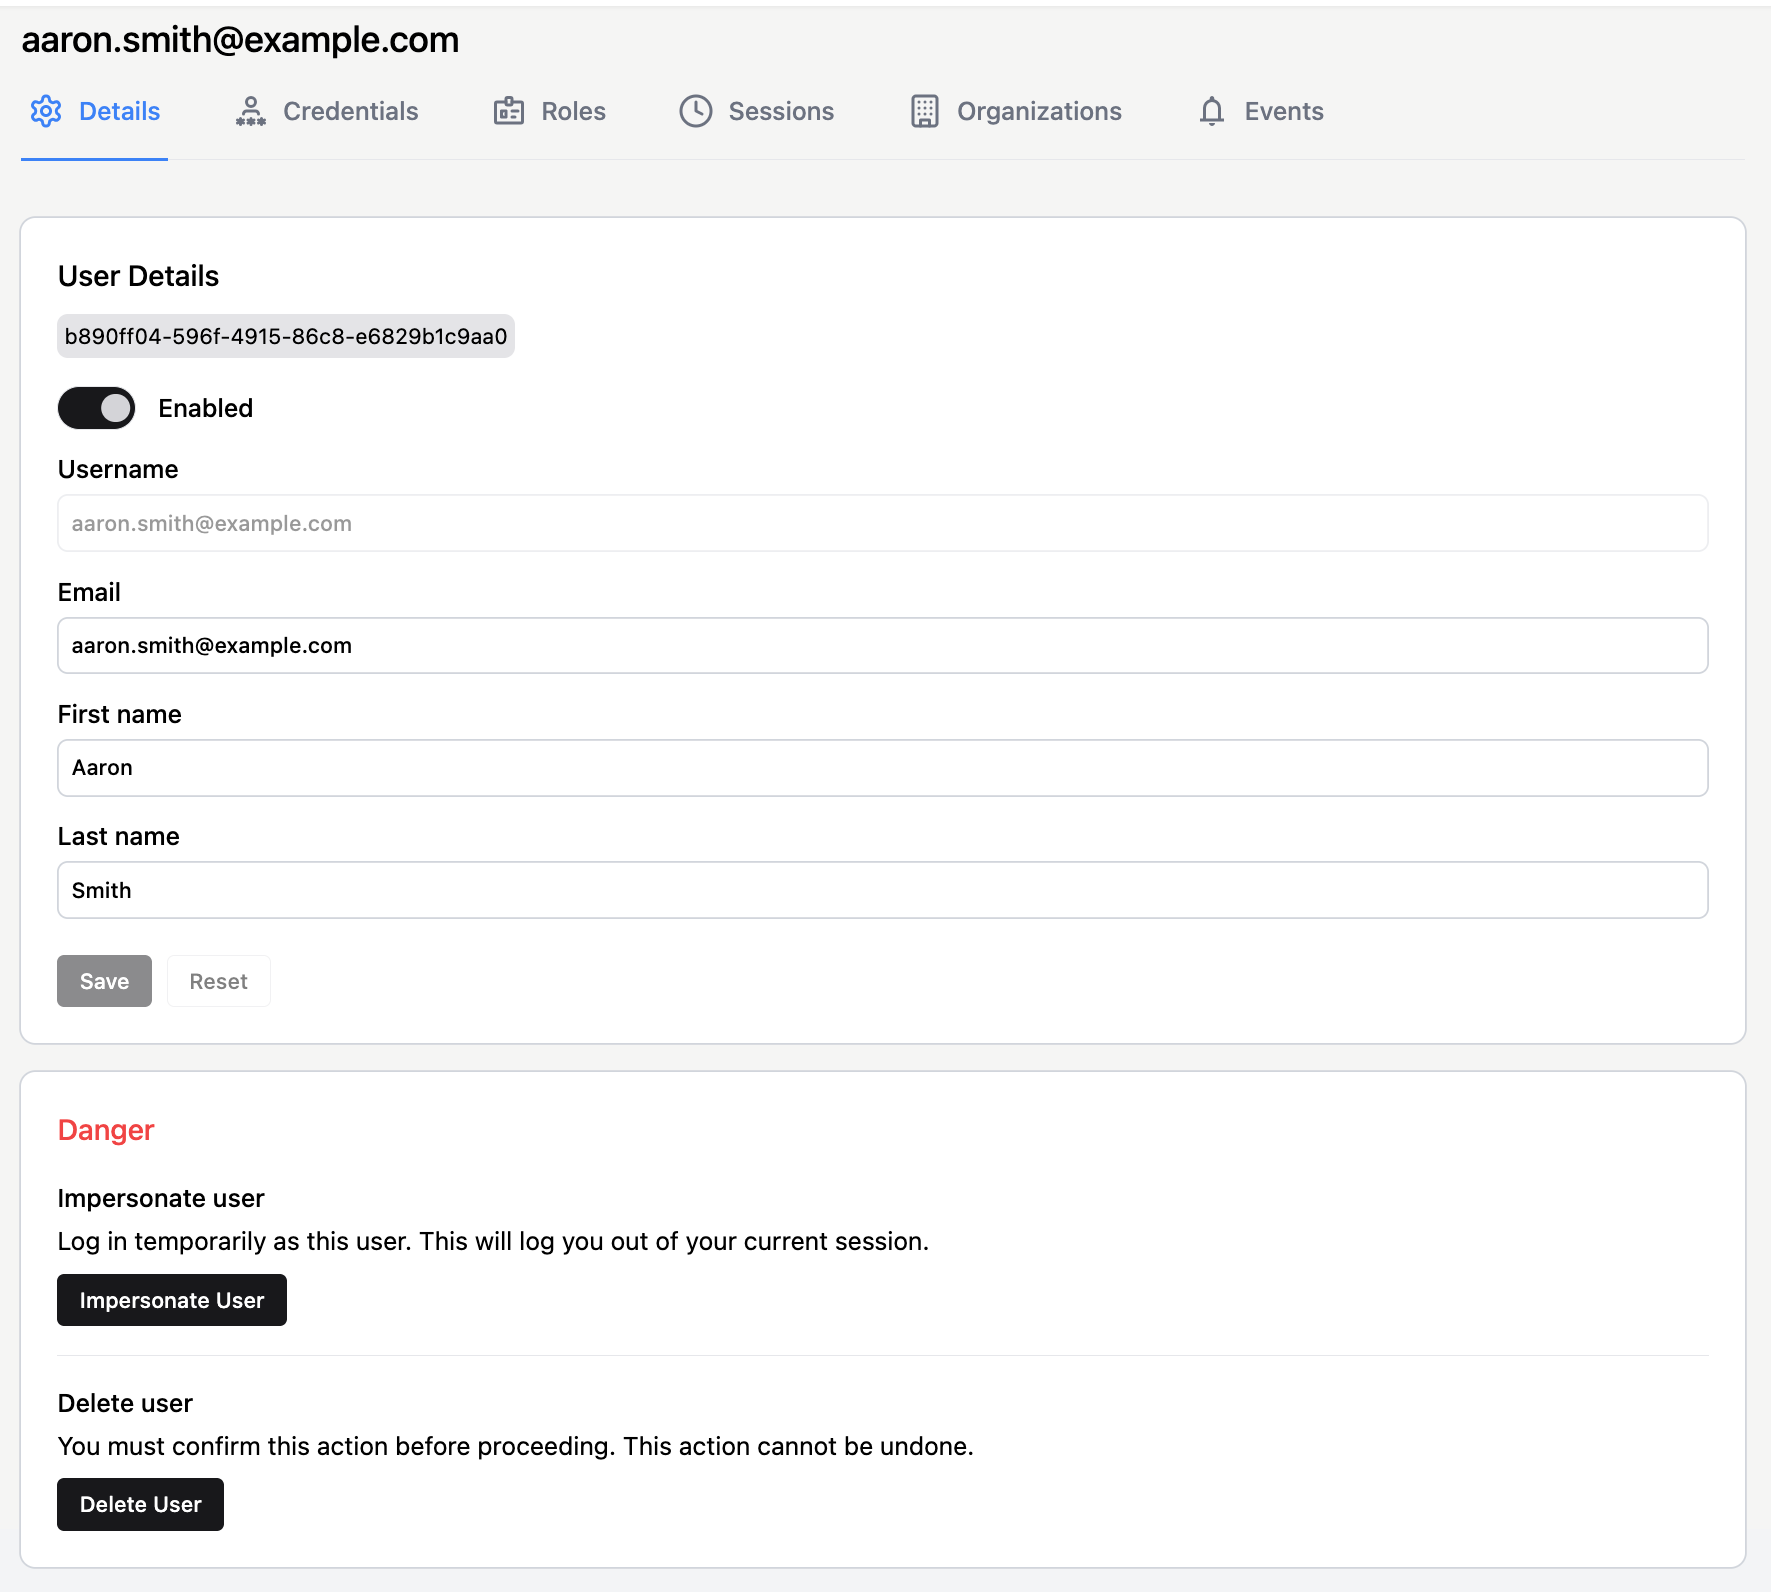
The email used as the username is not editable. However, there’s a separate Email field that allows the administrator to specify a different address for communications.
At the bottom of the page, there are two critical actions: removing or impersonating a user.
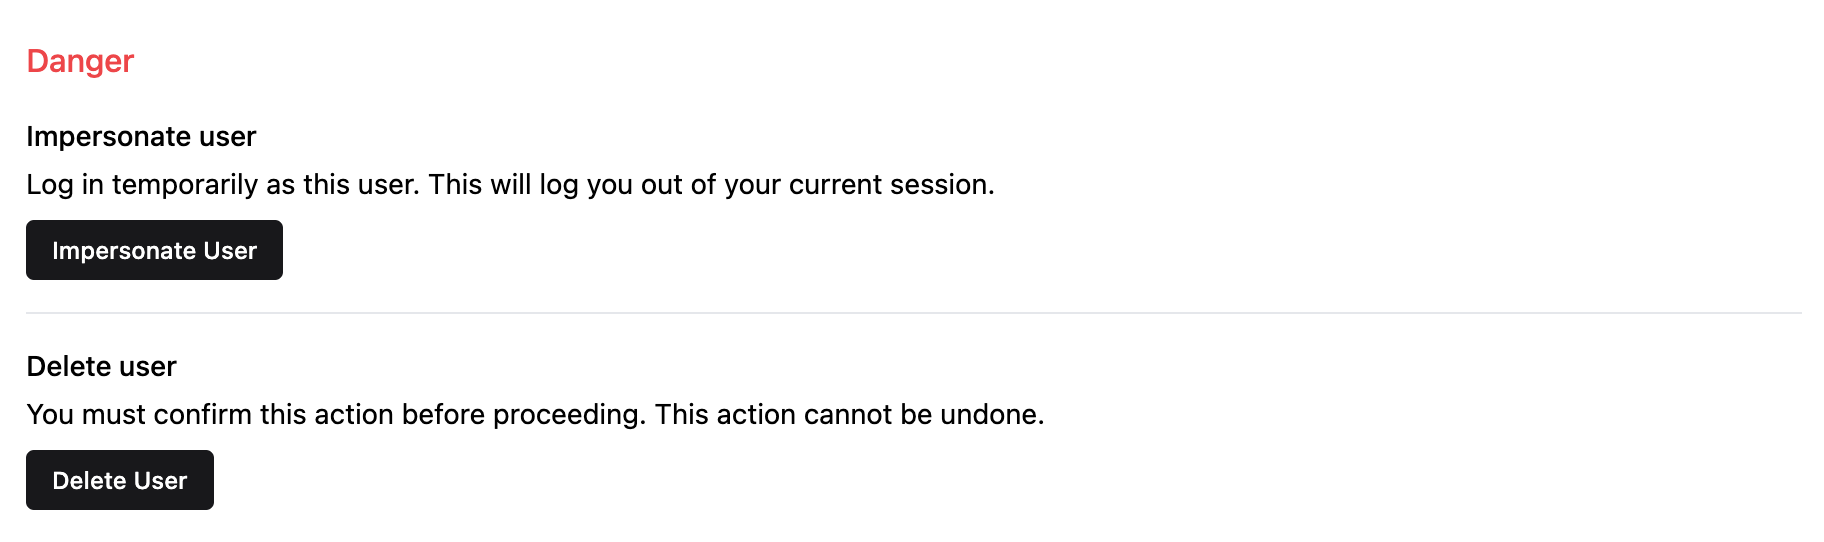
Impersonate user allows an administrator to assume a user’s identity. For example, if a user experiences a bug in an application, impersonation enables the administrator to troubleshoot and reproduce the issue. The administrator is redirected to the Keycloak account console as the impersonated user. From there, they can browse user details, credentials, and available applications. From the Applications menu in the Keycloak console, the administrator can proceed to access those applications as the impersonated user.
Delete user completely removes the profile from the Auth.it user management system. All data associated with the user, except stored audit logs, is deleted. If you want to temporarily disable a user instead, use the Enabled/Disabled switch at the top of the Details tab. This is a non-destructive action that prevents the user from authenticating.
Credentials
Credentials determine how a user authenticates and gains access to your applications. You can view and manage credentials in the Credentials tab of the user profile:
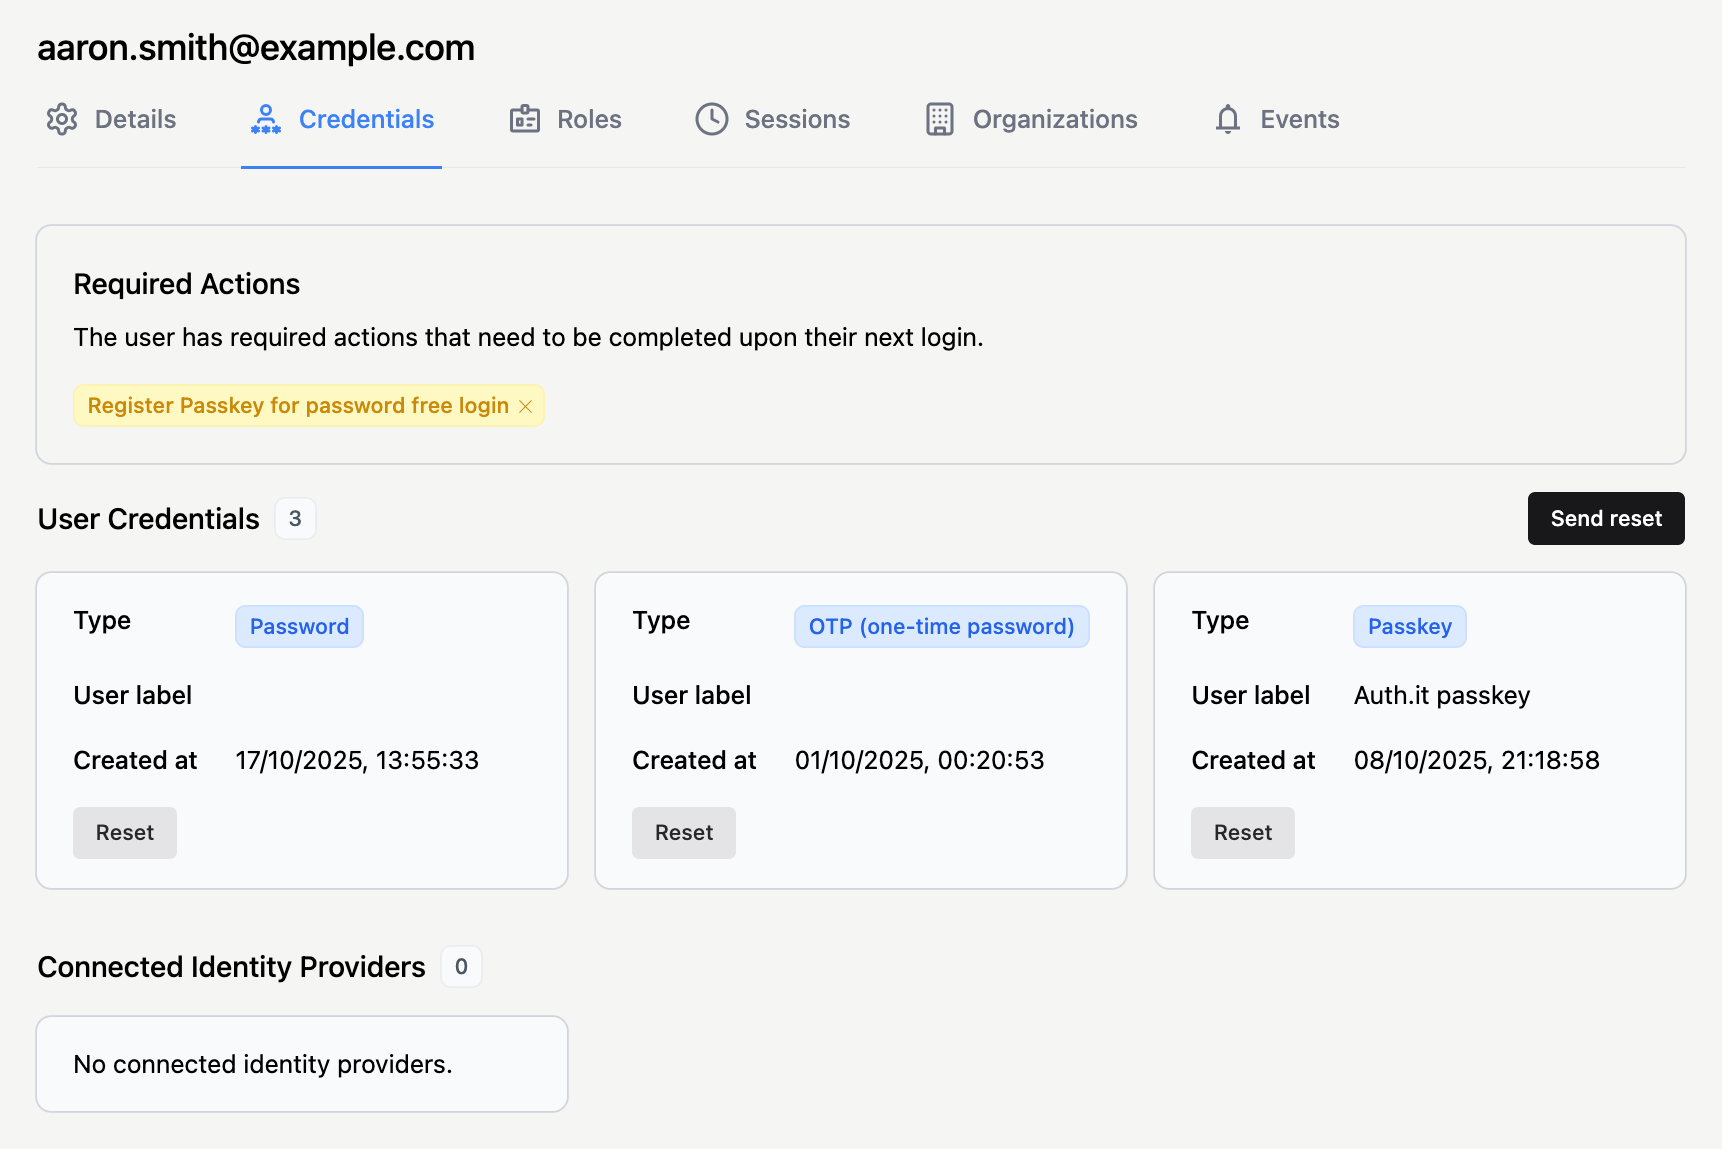
Depending on settings in the Authentication view, the User Credentials section may display blocks representing the user’s passwords, one-time passwords (OTP), and passkeys.
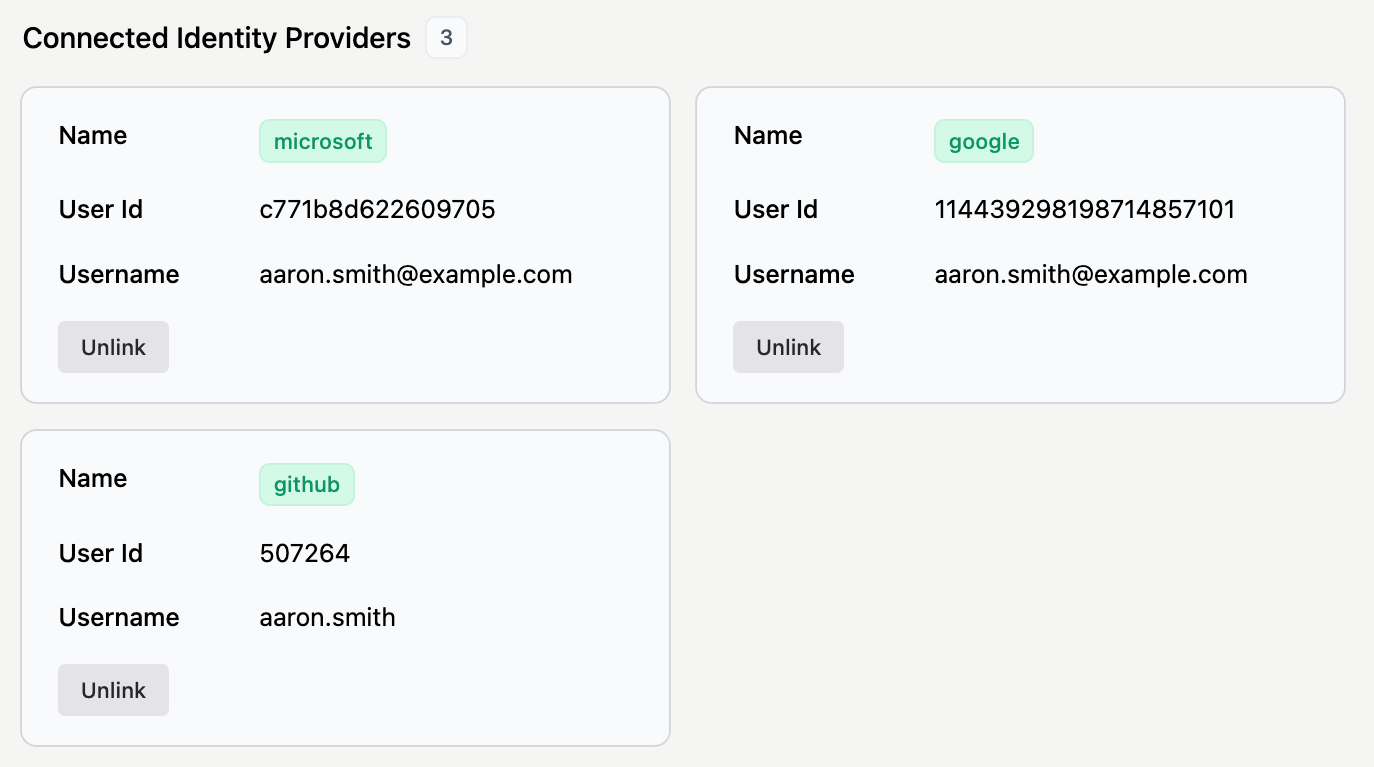
In the Connected Identity Providers section, you can see which social login providers the user has logged in with. Auth.it allows one user to log in with multiple social providers.
Reset requests
If you need to invalidate a user’s existing credentials and send them a credential reset request, do one of the following:
- Click Send reset at the top right of the User Credentials section.
- Click Reset in the block representing a specific credential.
In either case, the Send credential reset notification dialog appears:
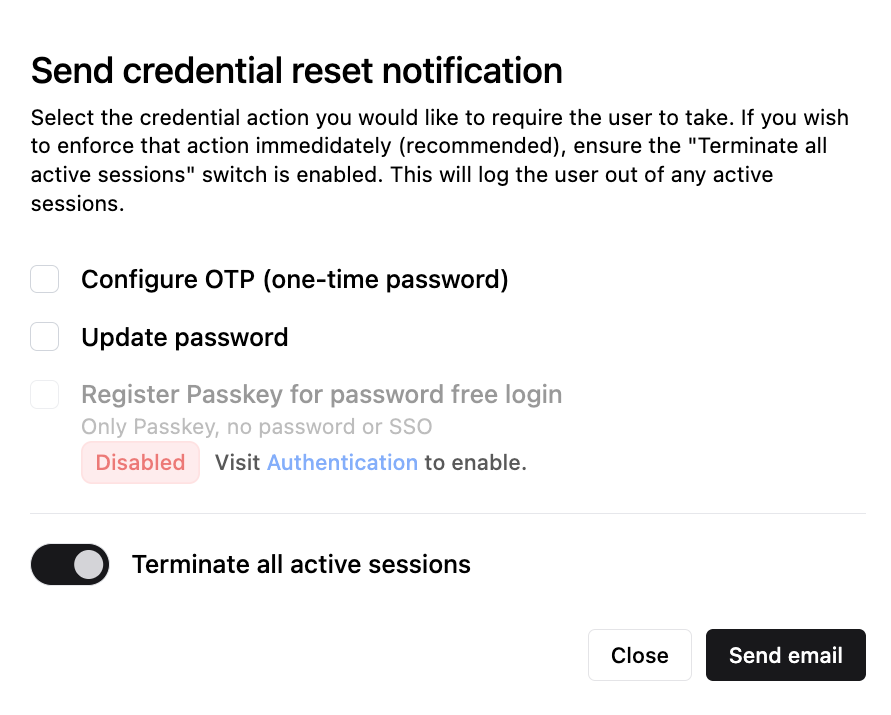
Choose the types of reset you want to request, then select how quickly the reset should occur using the Terminate all active sessions switch. By default, the switch is enabled, meaning that all the user’s current sessions are terminated immediately, and they must log in again to update the requested credential(s). If the switch is disabled, the user can continue their active sessions but must update the requested credential(s) the next time they log in.
After configuring the reset request, click Send email. The user will receive separate emails for each credential type that you’ve requested a reset for.
Reset requests for different credential types are handled differently:
- Resetting a password requires the user to replace their existing password with a new one.
- Resetting an OTP requires the user to reconfigure multi-factor authentication.
- Resetting a passkey requires the user to create a new passkey while the old one remains valid.
All pending reset requests for a user are displayed in the Required Actions section of the Credentials tab:

Clicking the delete icon next to a pending reset request cancels it.
Roles
The Roles tab of the user profile shows the user’s global roles and allows you to assign or unassign them.

Global roles can be created and managed in the Roles view of the Auth.it Dashboard.
All roles assigned to a user are included in the access token and can be used by your application for authorization decisions.
Auth.it also supports organization roles, which are created and managed in the properties of an organization in the Organizations view. You can’t assign organization roles to a user directly, but you can add them to an organization.
Sessions
The Sessions tab of the user profile shows all currently active user sessions.
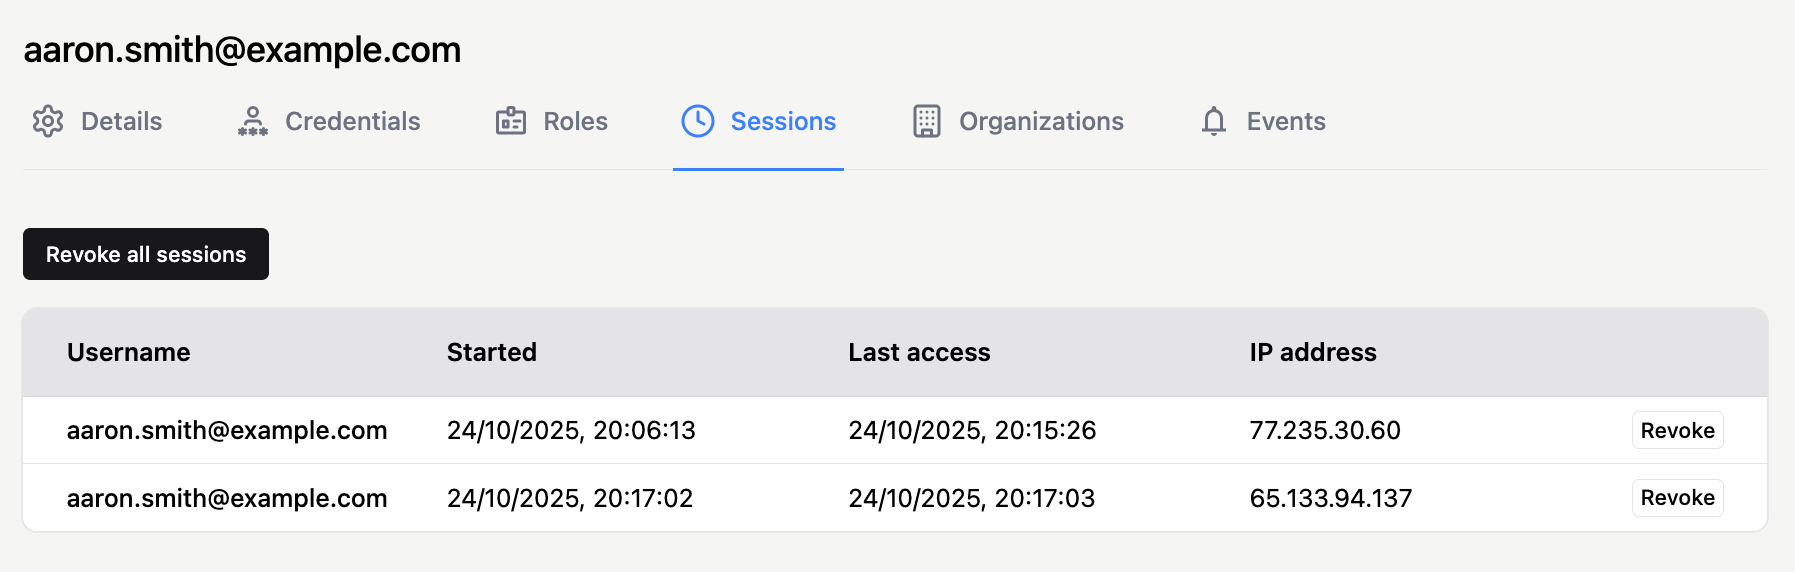
Each entry represents an active login session for that user — typically tied to a device or browser — along with its start time, last access time, and IP address.
A session remains active as long as the user’s tokens continue to refresh within the configured timeout periods. These values can be adjusted in the Session settings section of the Auth.it Dashboard’s Authentication view.
You can terminate sessions if necessary — for example, to resolve login issues or in case of suspected account compromise. Use the Revoke button next to each session entry to terminate a specific session, or click Revoke all sessions at the top left to end all of them.
Organizations
Organization memberships are listed in the Organizations tab of the user profile:
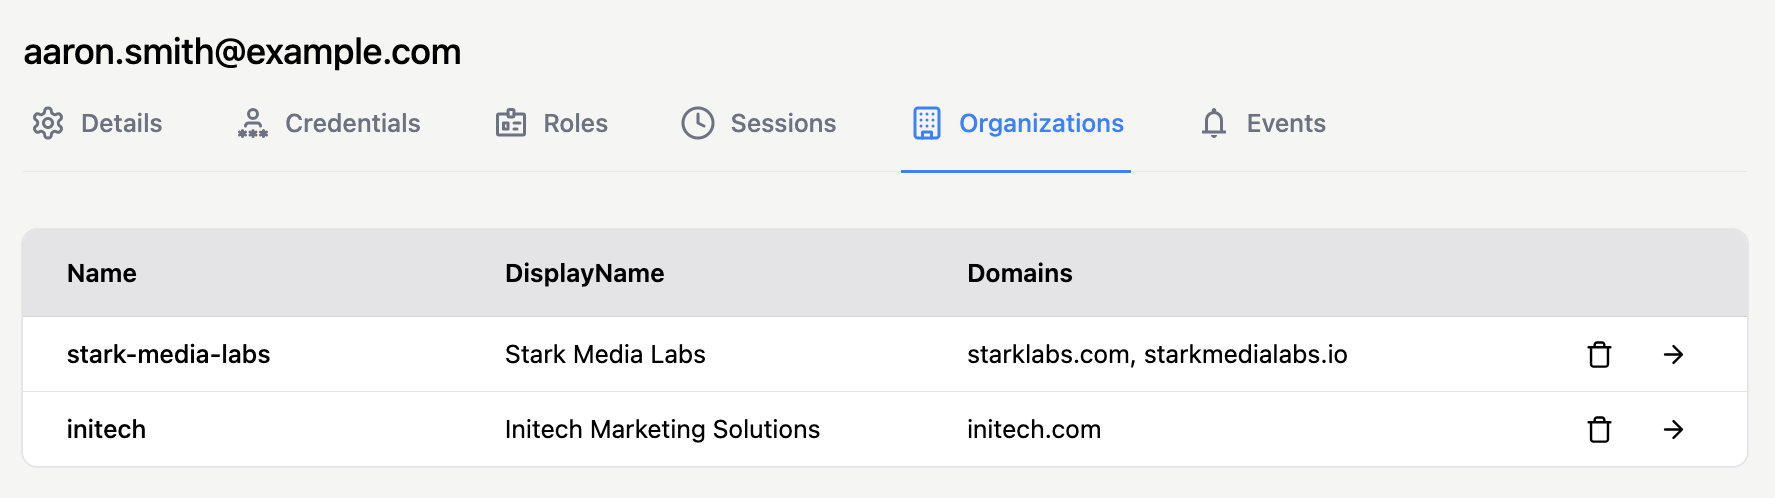
You can view the list of organizations a user belongs to. Click the arrow icon at the right of each organization’s entry to navigate to its details.
You can’t add a user to new organizations from the user profile. To do that, go to the organization’s profile in the Organizations view.
Events
Login and access events associated with an individual user are listed in the Events section of the user profile:
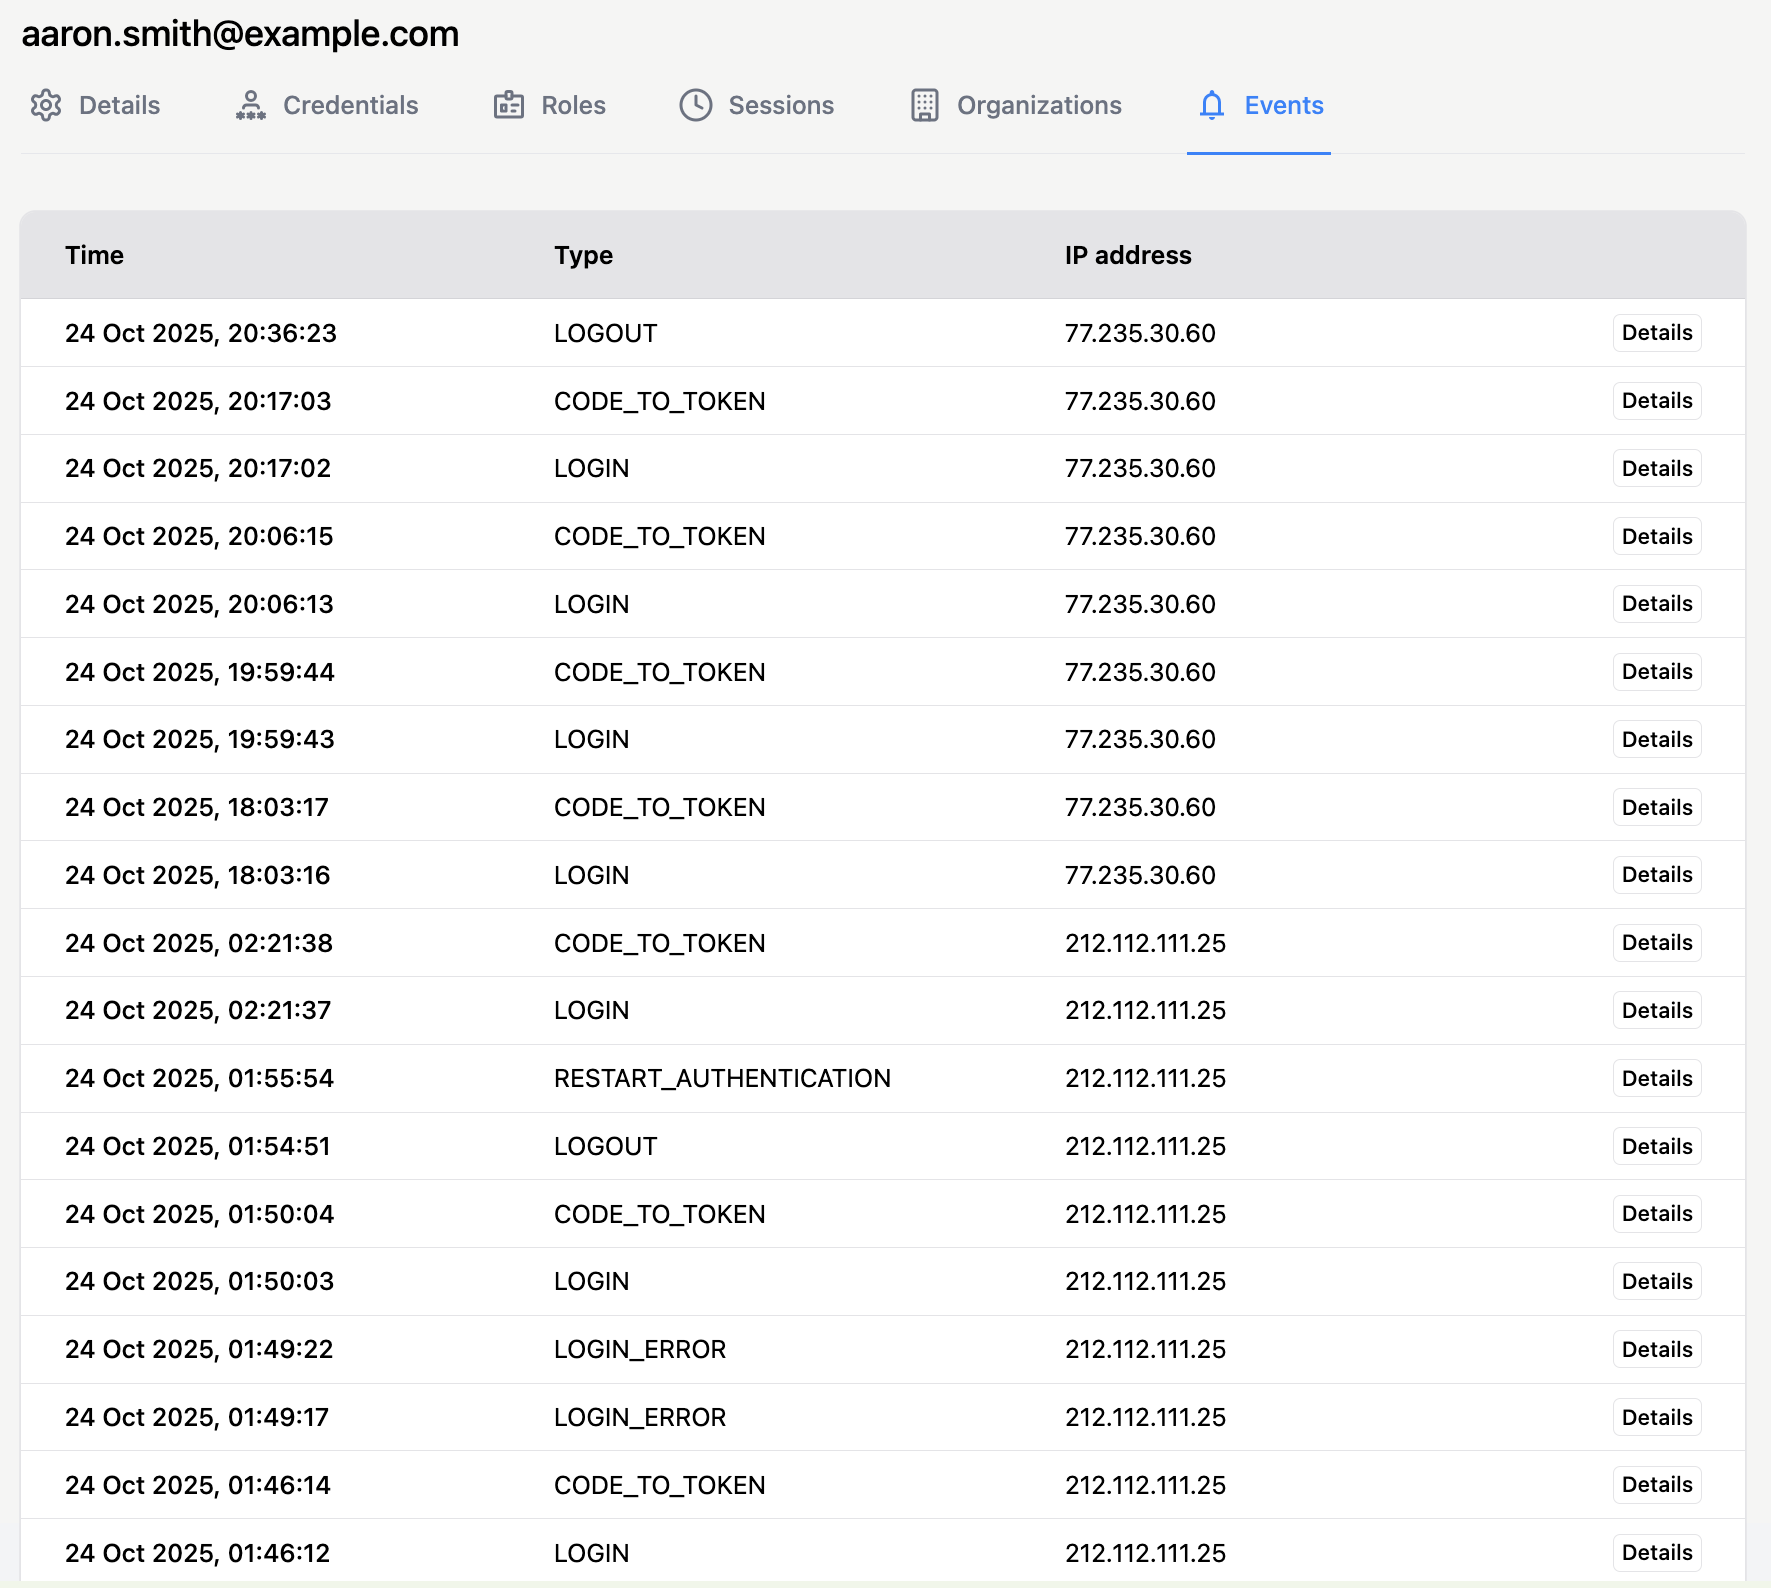
This section provides a convenient way to review user activity and investigate access issues. Clicking Details in an event row opens a modal showing selected event properties:
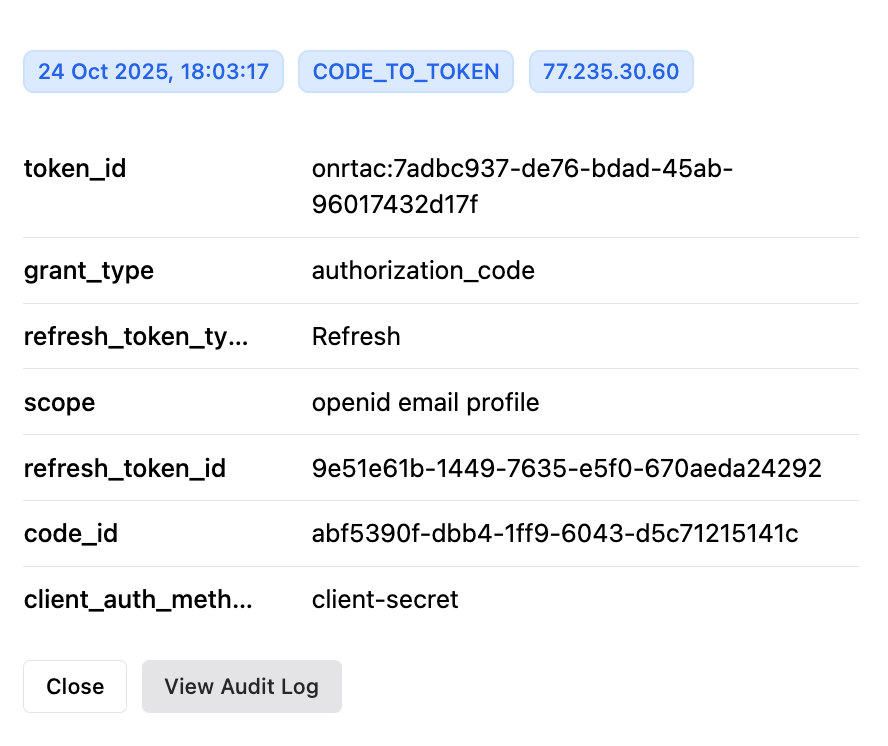
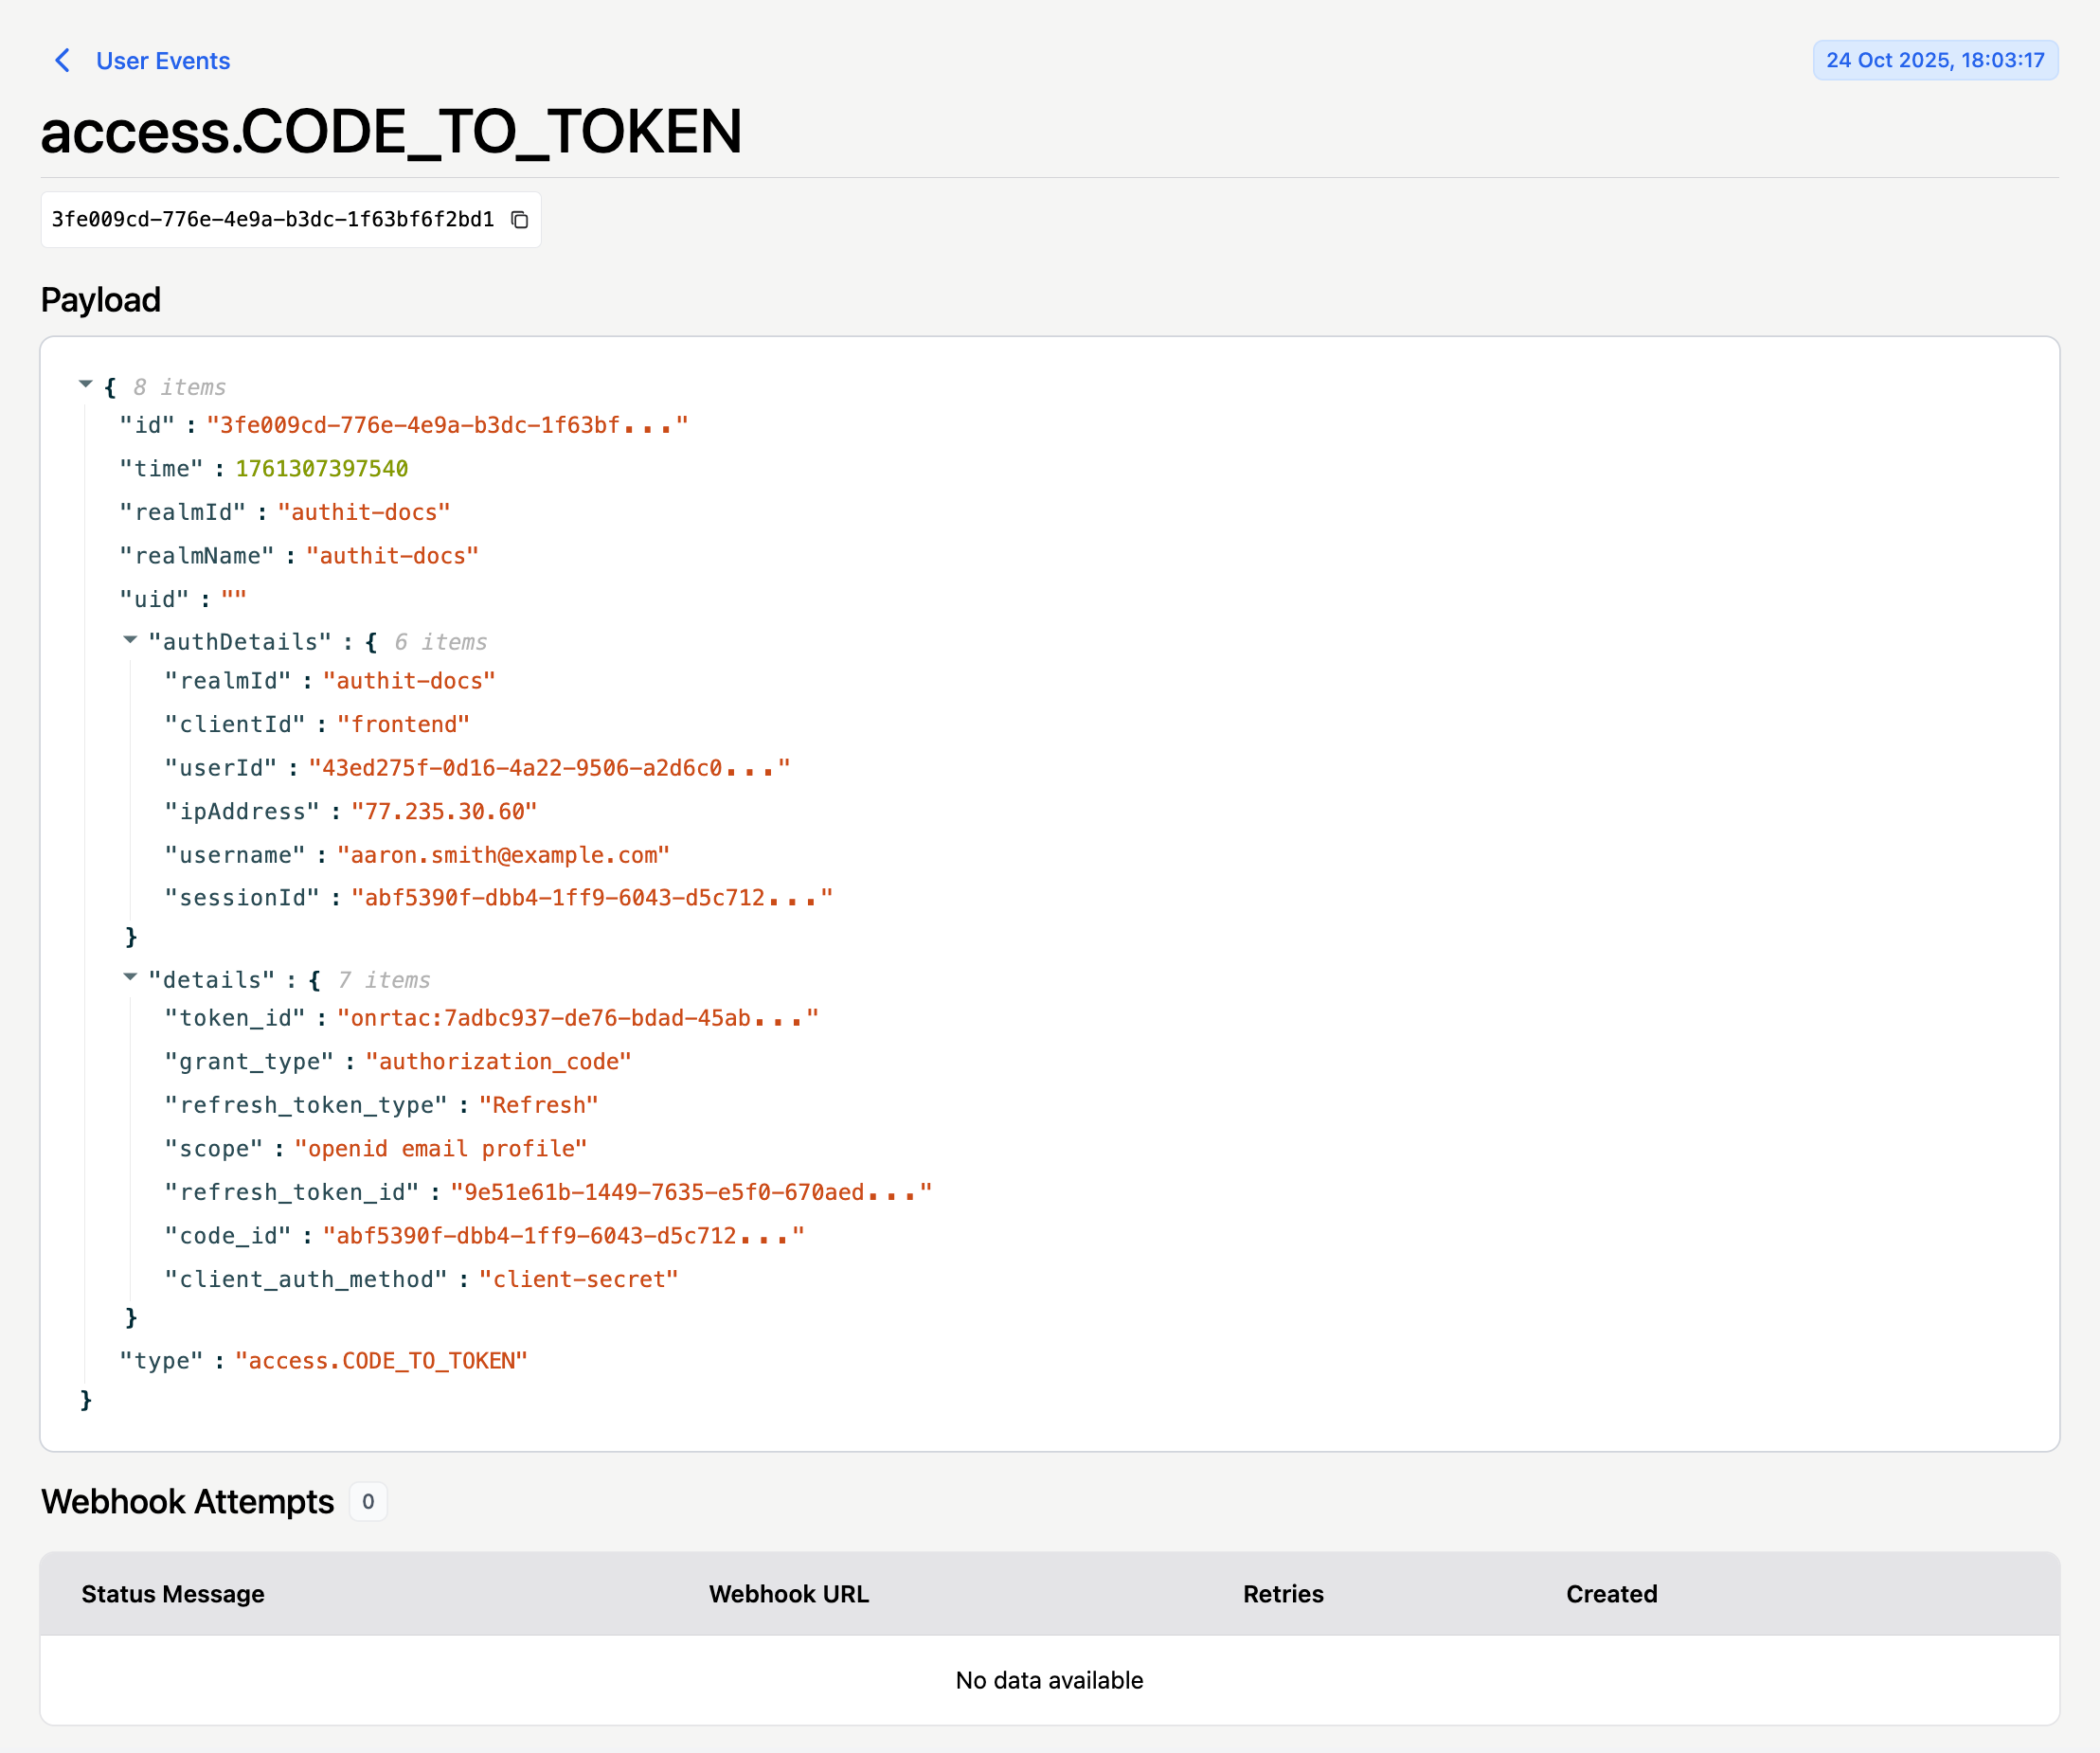
To view more information, including the entire copyable payload associated with the event or webhook status, click View Audit Log in the modal. This takes you to the corresponding entry in the Audit Logs view:
If you need to review all events — not just those for a specific user — use the Audit Logs view instead.