GitHub
To enable Auth.it to authenticate users with GitHub:
- In Auth.it’s Authentication view:
- In the GitHub section, click Enable GitHub.
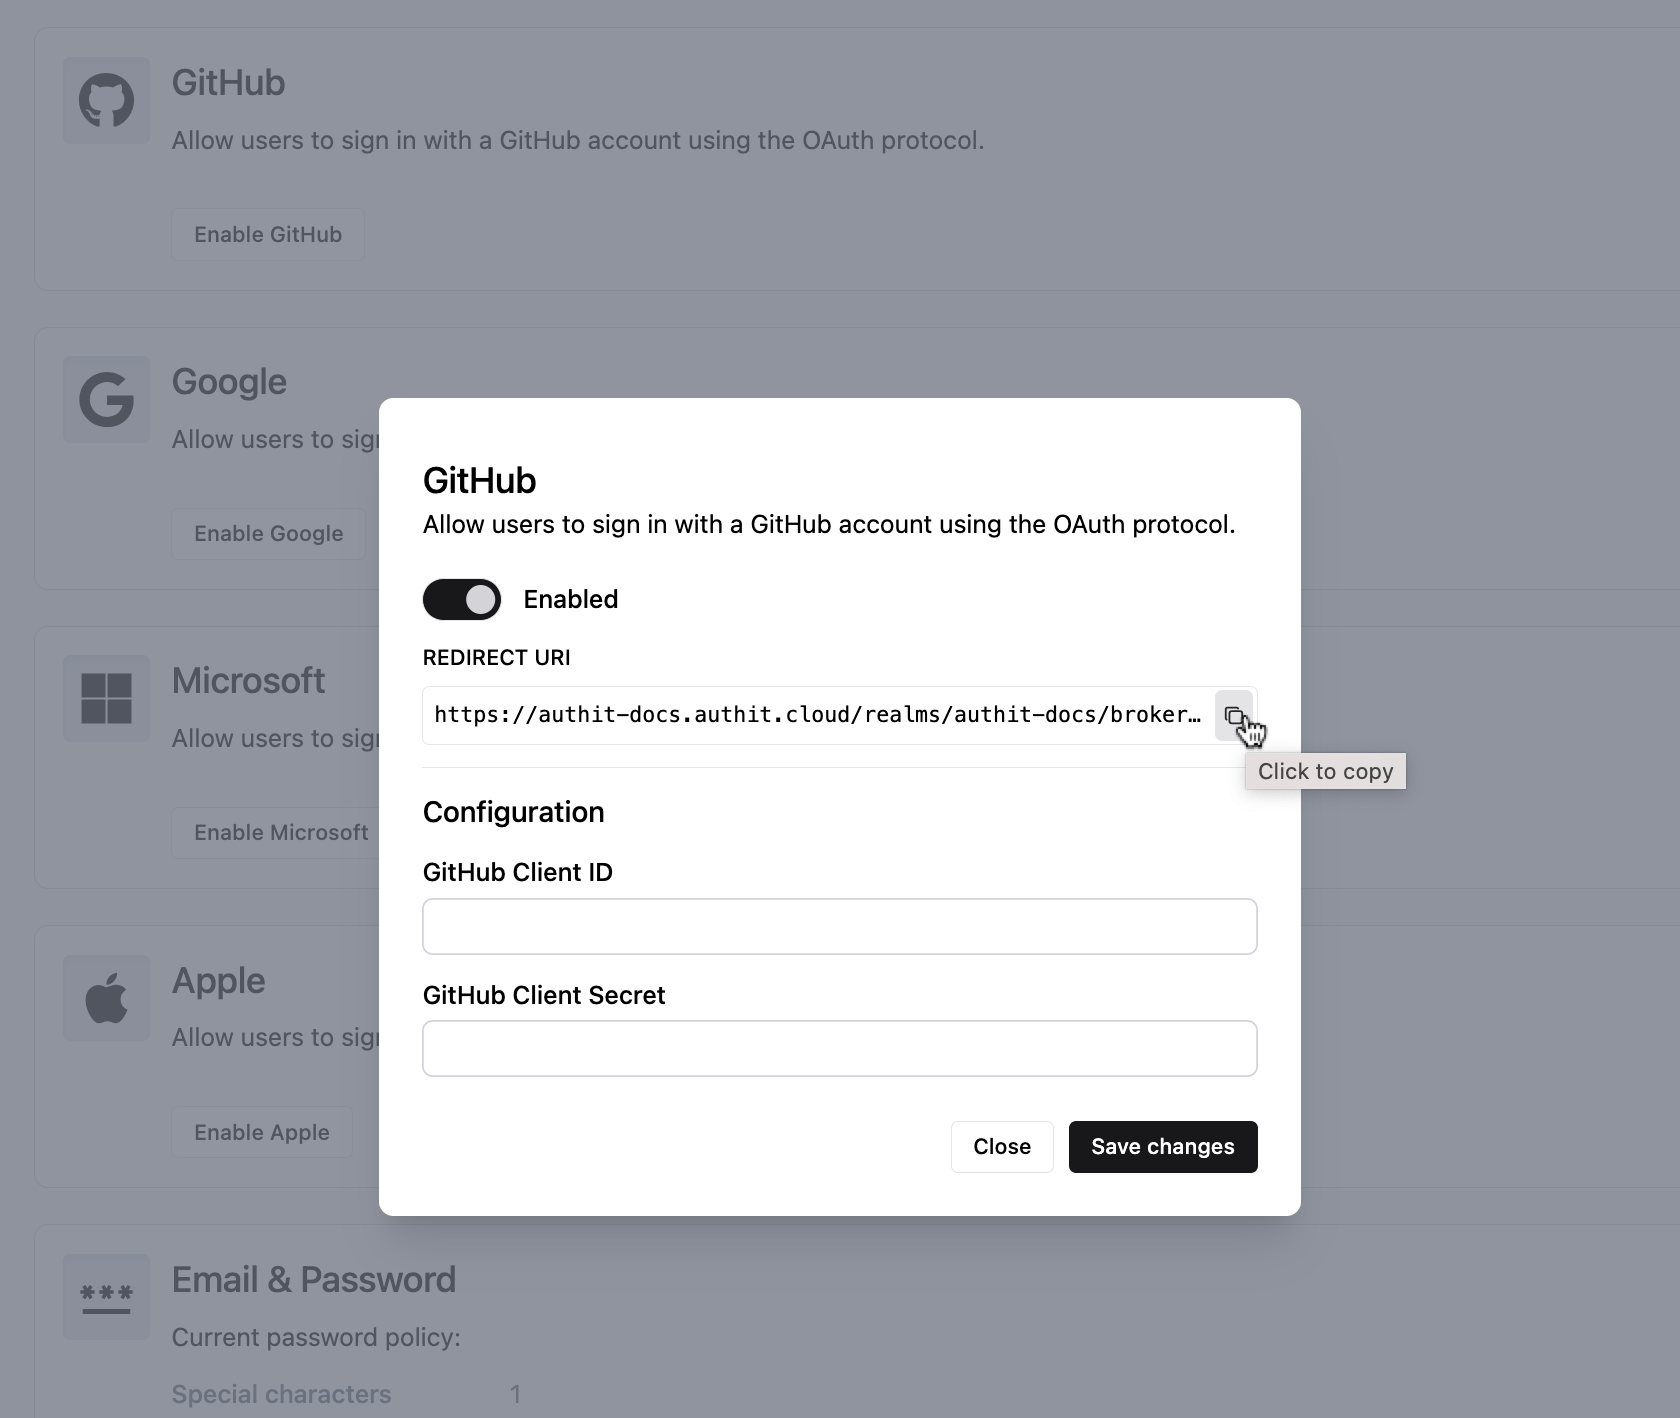
- In the configuration pop-up, click the toggle to enable GitHub integration.
- Copy the redirect URI that Auth.it displays:
- In GitHub, create a GitHub OAuth application:
- In your GitHub organization, click Settings. Scroll down to Developer settings and click OAuth Apps.
- Click New OAuth app.
- In Application name, enter a name for your application, such as “[Your application]‘s GitHub login”. This will be displayed to users during the authentication process along with your organization’s name.
- Enter your application’s root URL in Homepage URL. This can be a localhost URL for testing purposes or the public URL of your application.
- In Authorization callback URL, paste the redirect URI you copied from Auth.it. Here’s an example of what the OAuth app settings may look like:
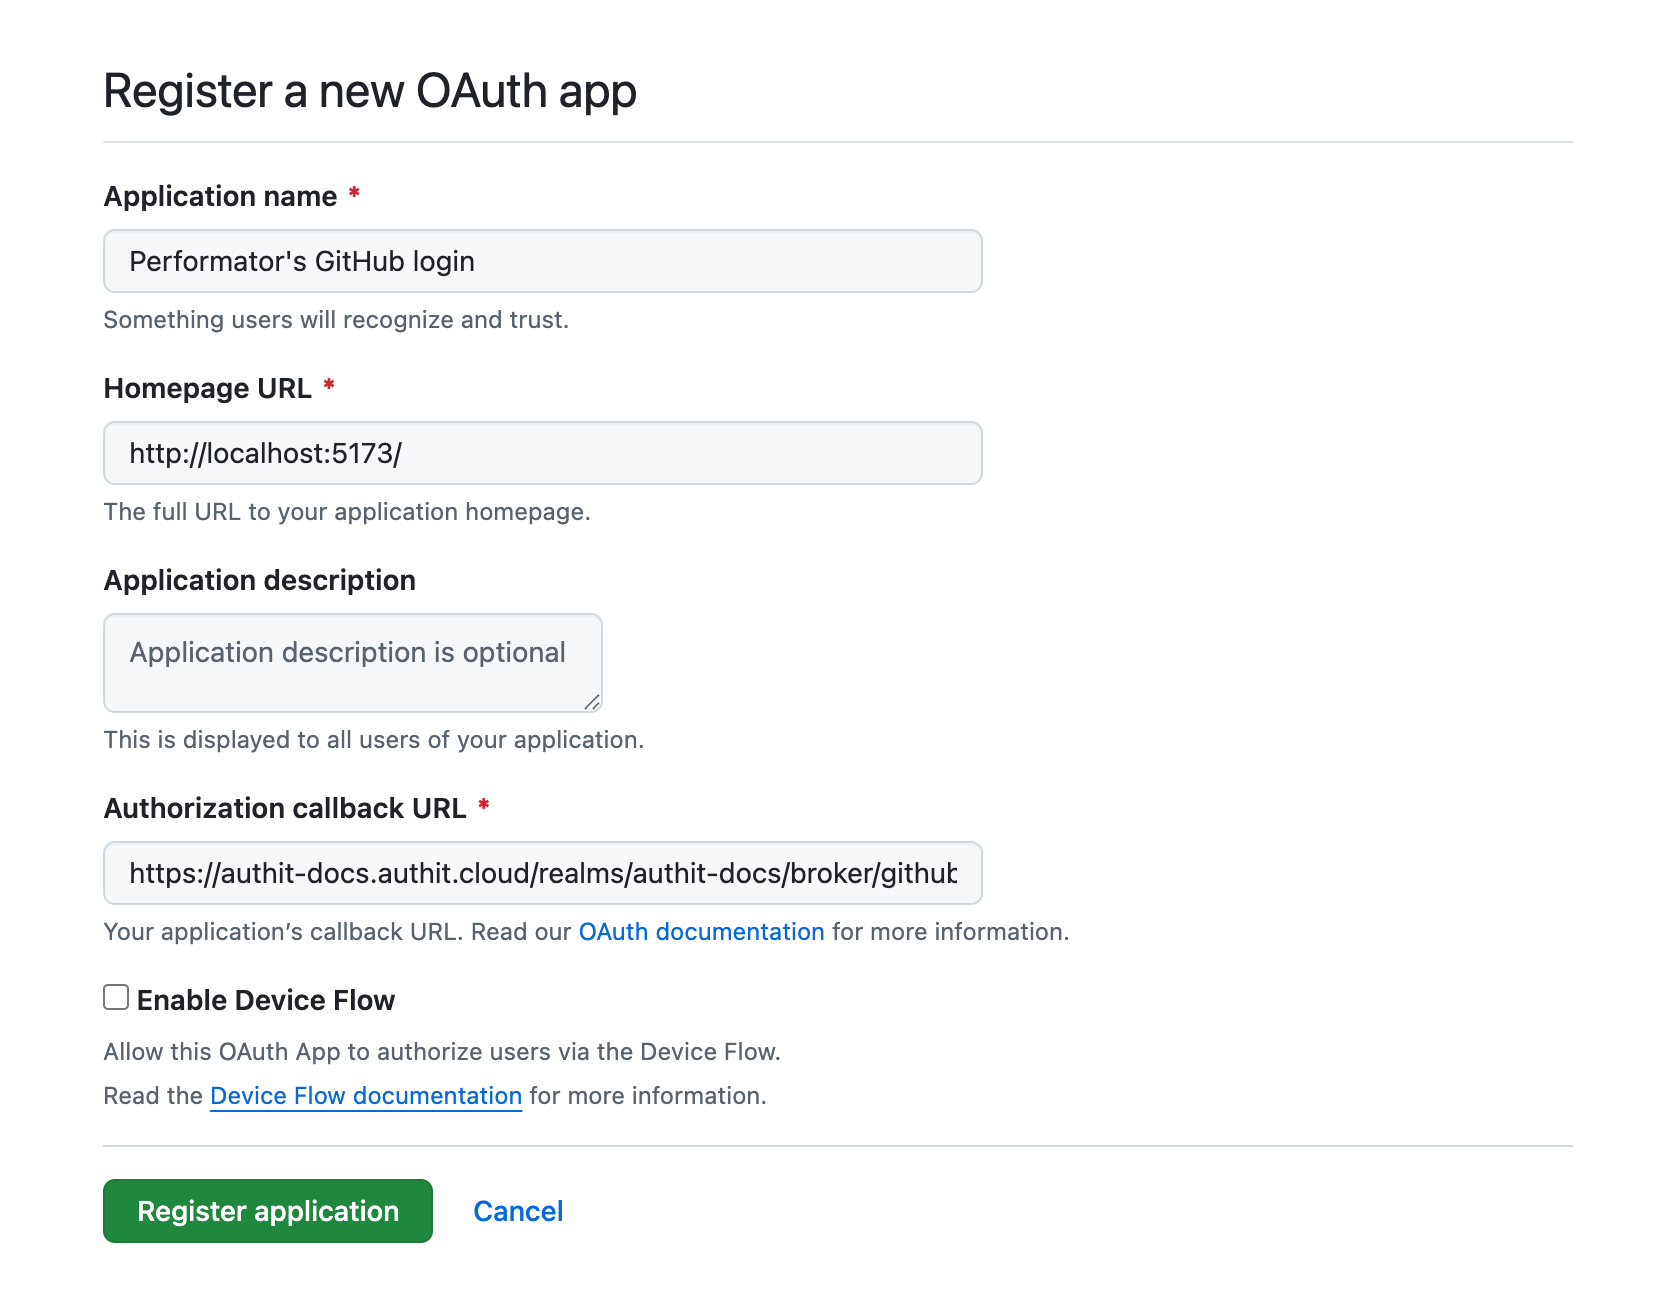
- Click Register application.
- When the OAuth app is created, copy the value of Client ID.
- Under Client secrets, click Generate a new client secret. Copy the value of the secret because it’s only displayed once.
- Back in Auth.it’s GitHub configuration pop-up:
- Paste the GitHub client ID into GitHub Client ID.
- Paste the GitHub client secret into GitHub Client Secret.
- Click Save changes.
To test that the GitHub integration is working:
- In your application, go to the login page. Notice that it now contains a button to log in with GitHub:
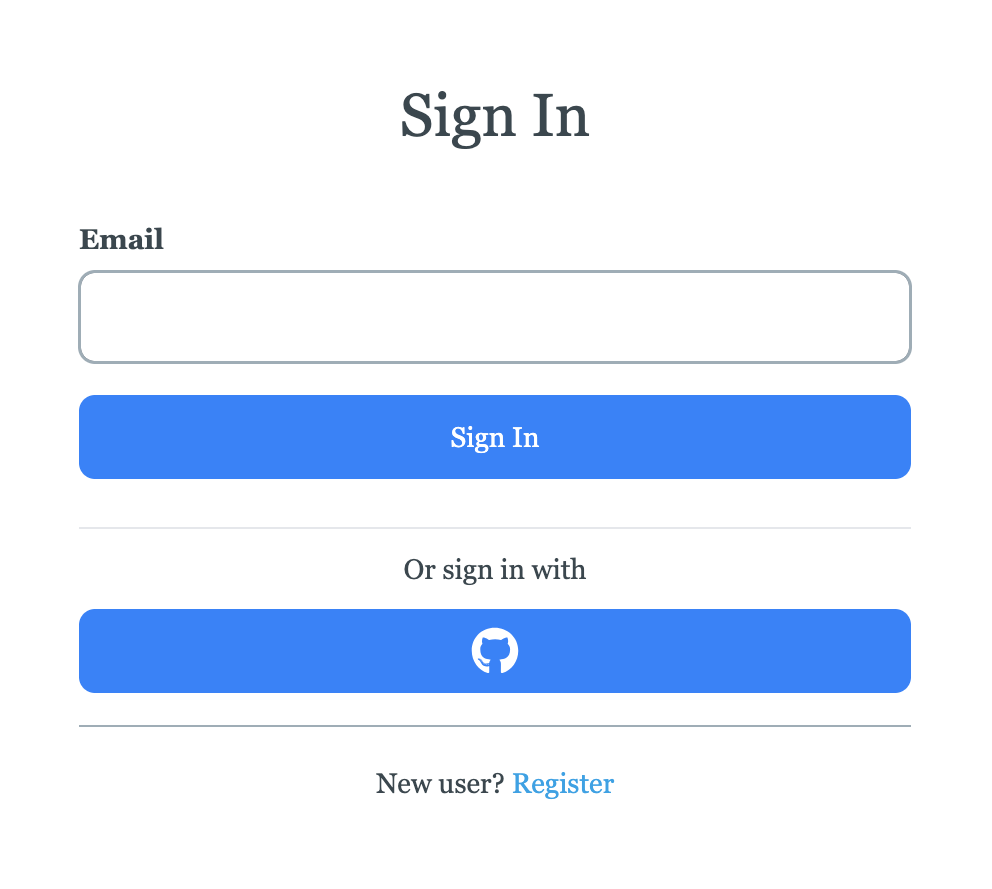
- Click the GitHub login button.
- If your GitHub login session is active, you should see a screen that asks you to authorize the OAuth application you just set up. Click Authorize:
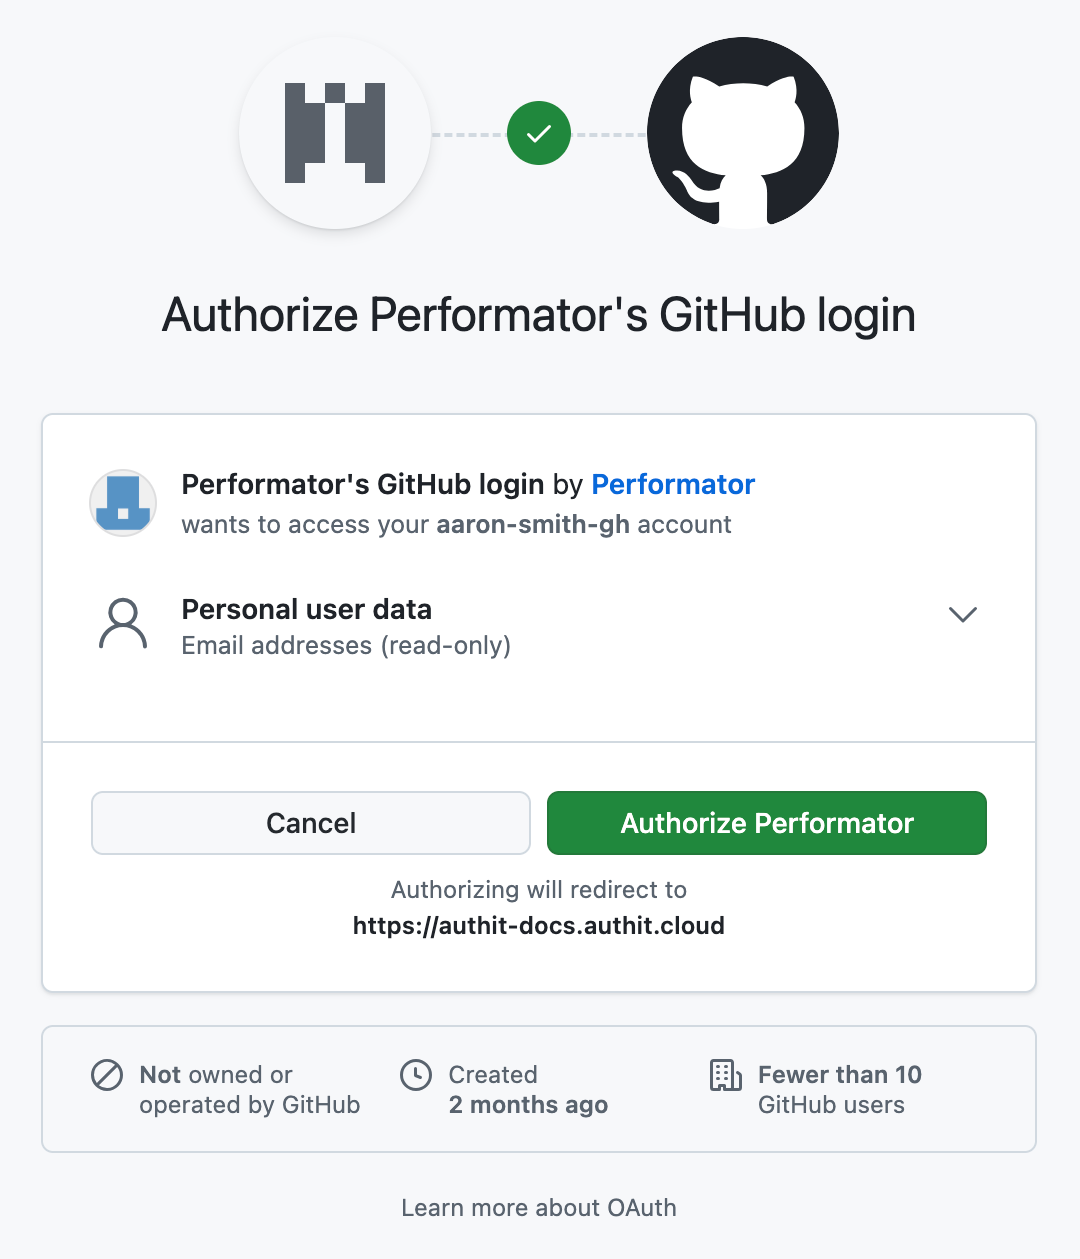
- You are now logged in with GitHub and redirected back to your application.