To enable Auth.it to authenticate users with Google:
- In Auth.it’s Authentication view:
- In the Google section, click Enable Google.
- In the configuration pop-up, click the toggle to enable Google integration.
- Copy the redirect URI that Auth.it displays.
- In Google Cloud Console, create OAuth credentials:
- Go to Google Cloud Console.
- Select an existing project or create a new one for your application.
- Click the menu button in the top-left corner to open the navigation menu, then go to APIs & Services → Credentials.
- Click Create Credentials → OAuth client ID.
- If prompted about the consent screen, click Configure consent screen, then:
- Click Get started.
- Enter an application name, then click Next.
- Set Audience to External, and click Next.
- Enter your contact email, then click Next.
- Agree to the user data policy, click Continue, then click Create.
- After being redirected to the OAuth Overview view, click Create OAuth client:
- For Application type, select Web application.
- Enter an internal name for the OAuth client (this will not be shown to users).
- In Authorized JavaScript origins, add your application’s root URL. This can be a localhost URL for testing purposes or the public URL of your application.
- In Authorized redirect URIs, paste the redirect URI you copied from Auth.it.
- Click Create.
- Copy the generated Client ID and Client secret.
- Back in Auth.it’s Google configuration pop-up:
- Paste the Google client ID into Google Client ID.
- Paste the Google client secret into Google Client Secret.
- Click Save changes.
To test that the Google integration is working:
- In your application, go to the login page. Notice that it now contains a button to log in with Google:
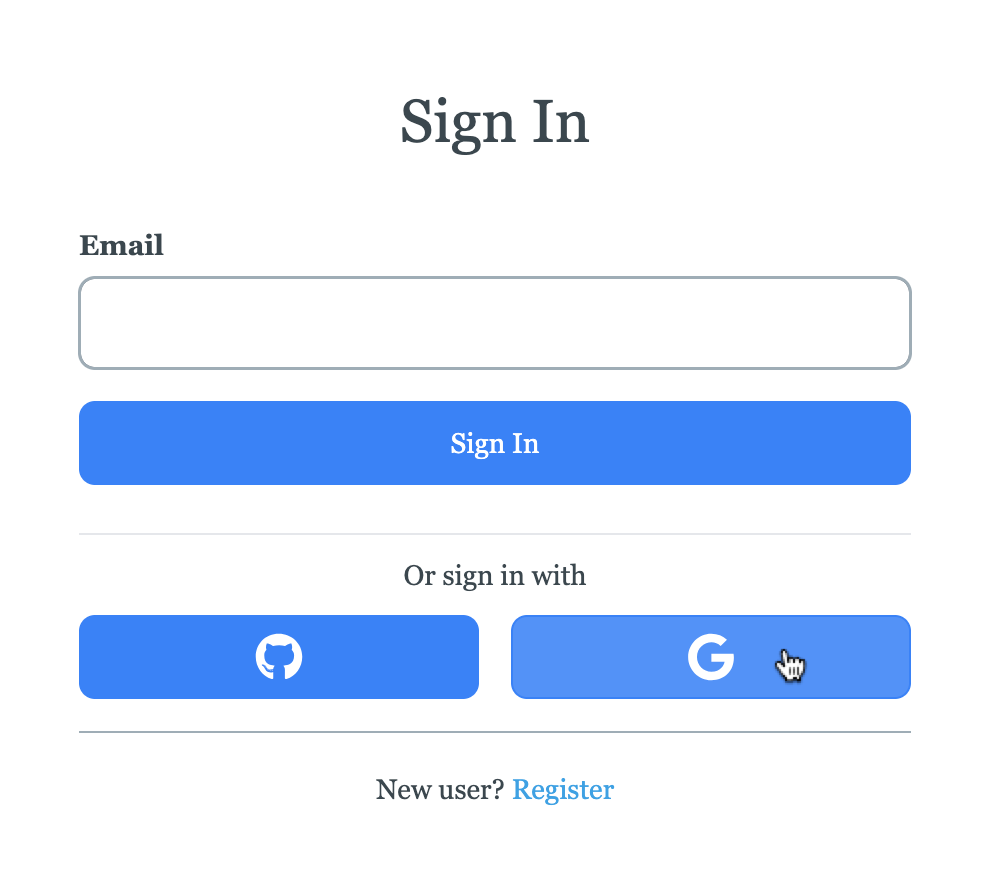
- Click the Google login button.
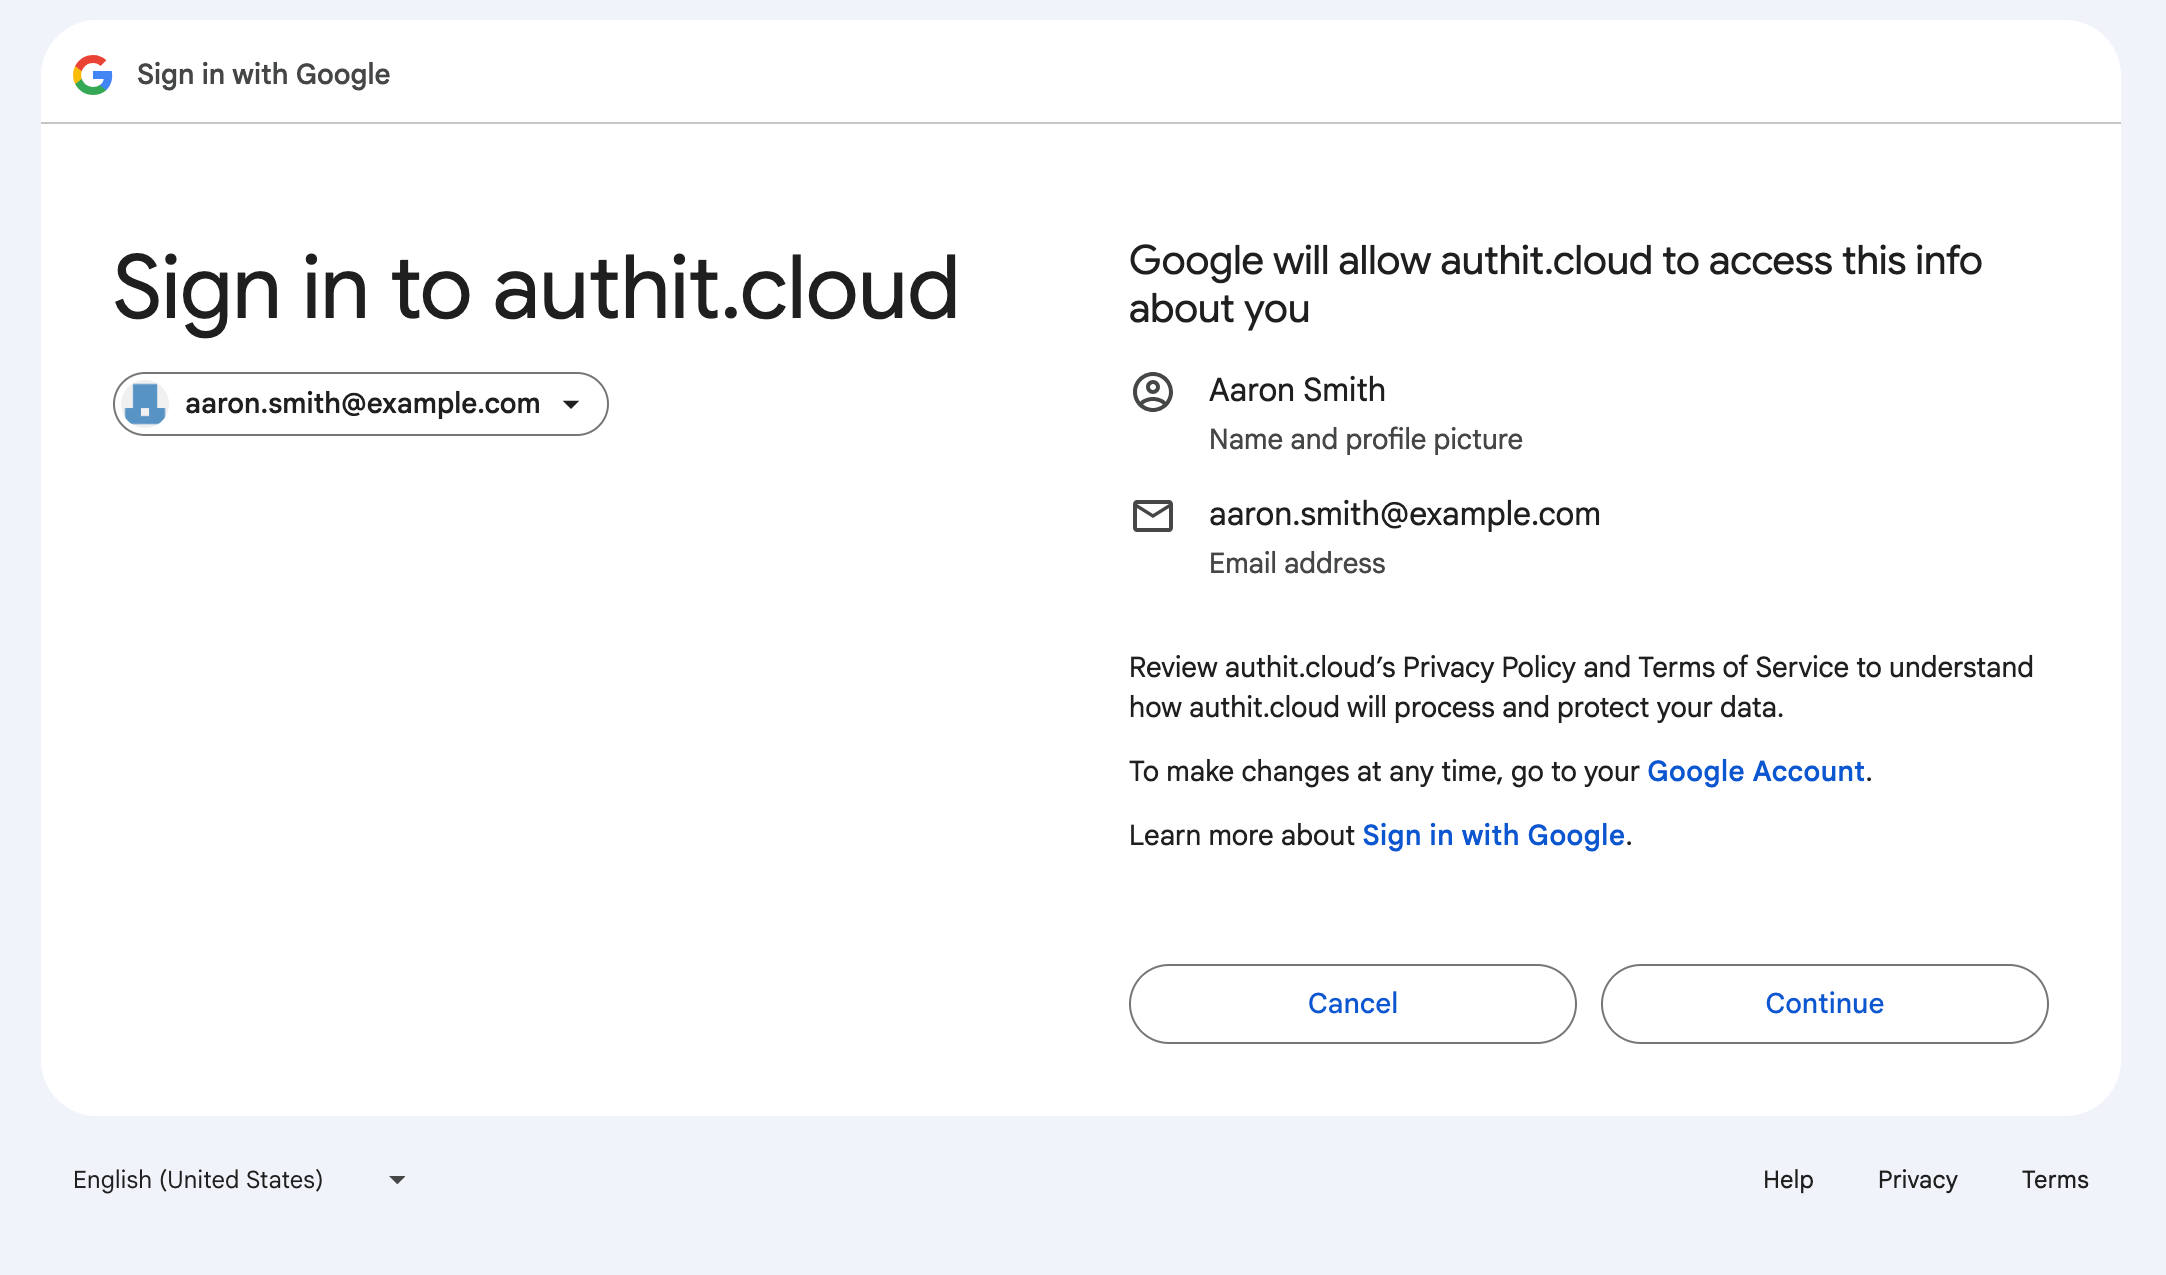
- If your Google login session is active, you should see the Google consent screen requesting access on behalf of your OAuth application. Click Continue:
- You are now logged in with Google and redirected back to your application.